When we built our new house back in 2014, we bought a secondhand dining suite
to get us by until I could find time to make our own using some of the Rose
Mahogany I have . . . only took 12 years to get the 'round tuit'!!
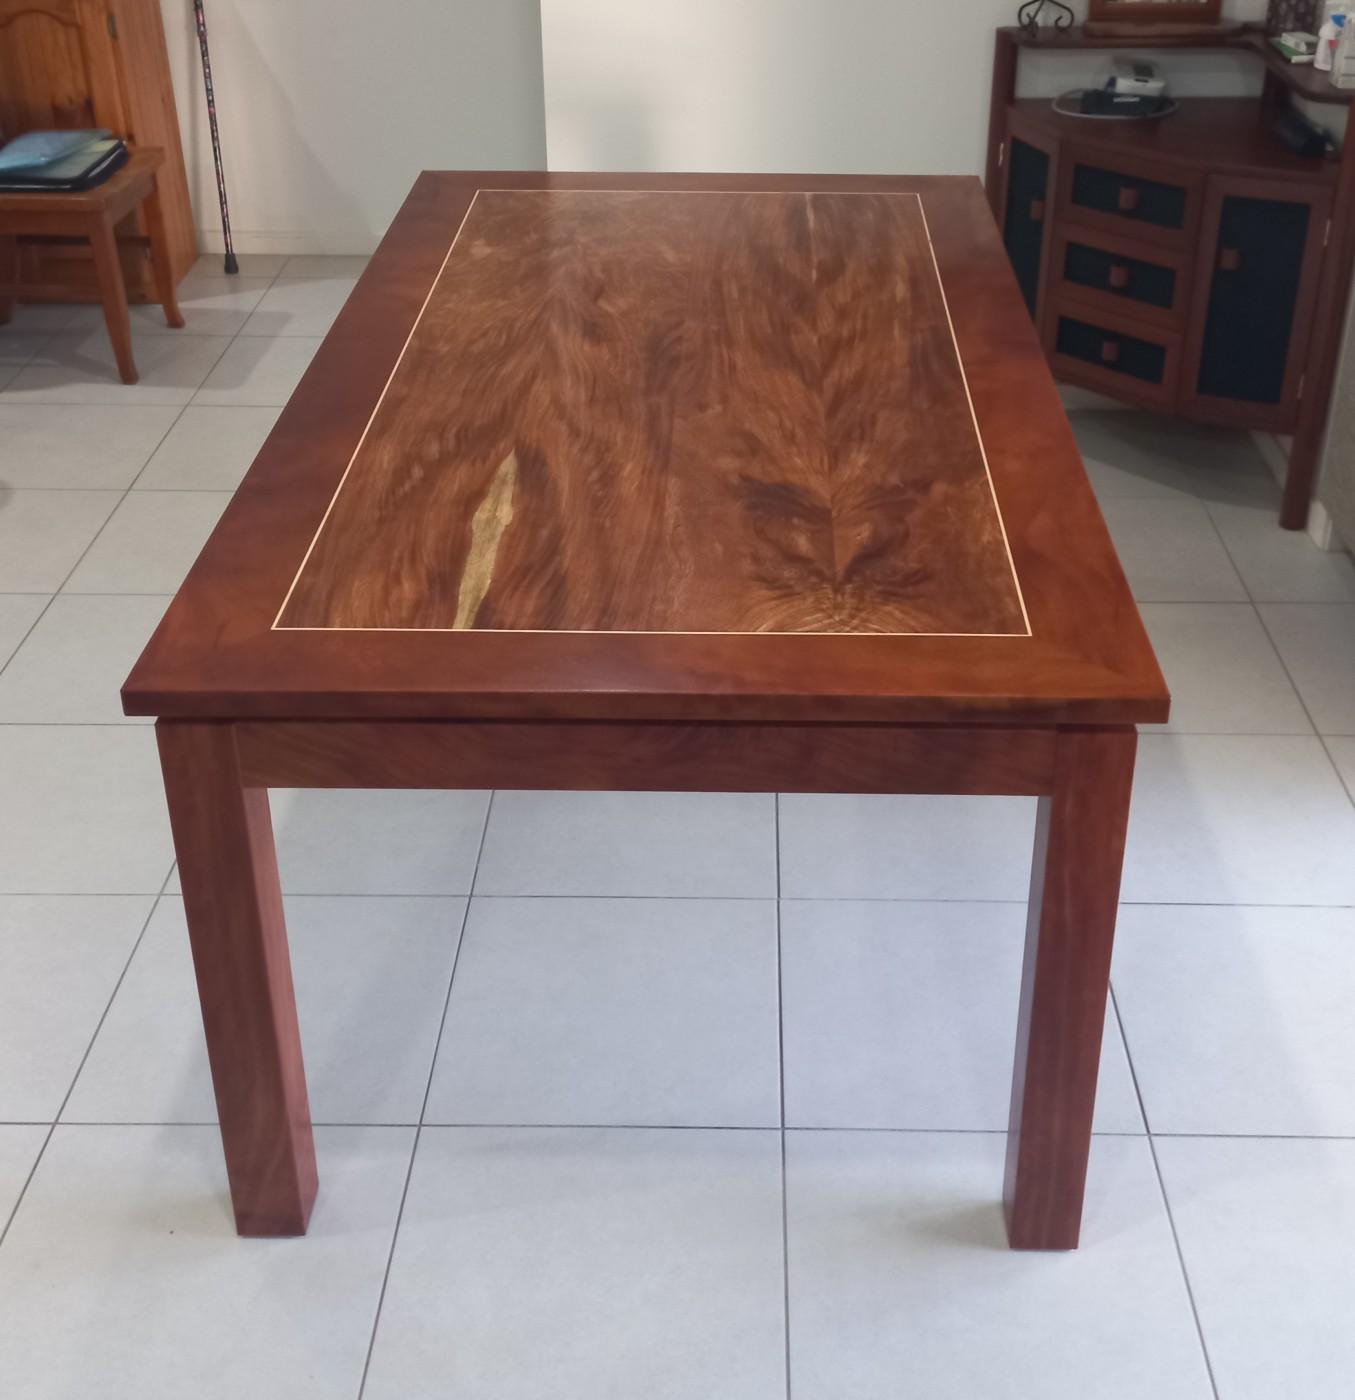
After deciding to go with a 'floating' top design for the table, I also
decided I wanted to use some of my Mackay Cedar as a centrepiece but didn't
want use breadboard construction. Preferring a framed style top instead
meant doing a veneered centrepiece so I didn't have to worry about seasonal
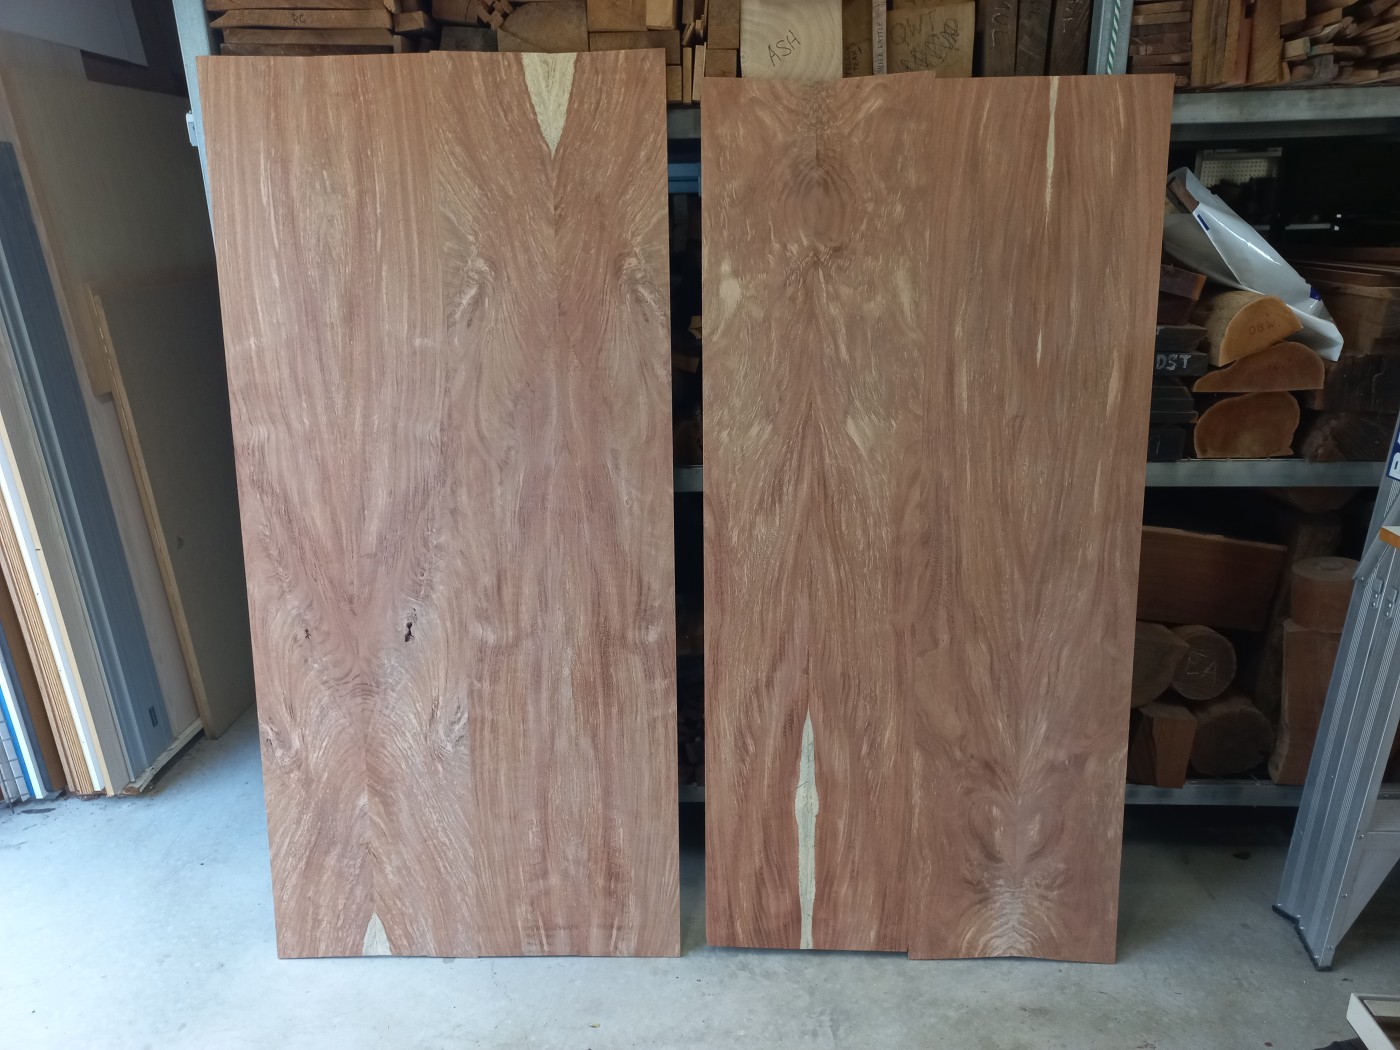
movement in the Cedar. After dressing my stock of wide Cedar boards to find
the most interesting patterns (right), I sliced them into 8mm 'veneers' and
joined the edges.
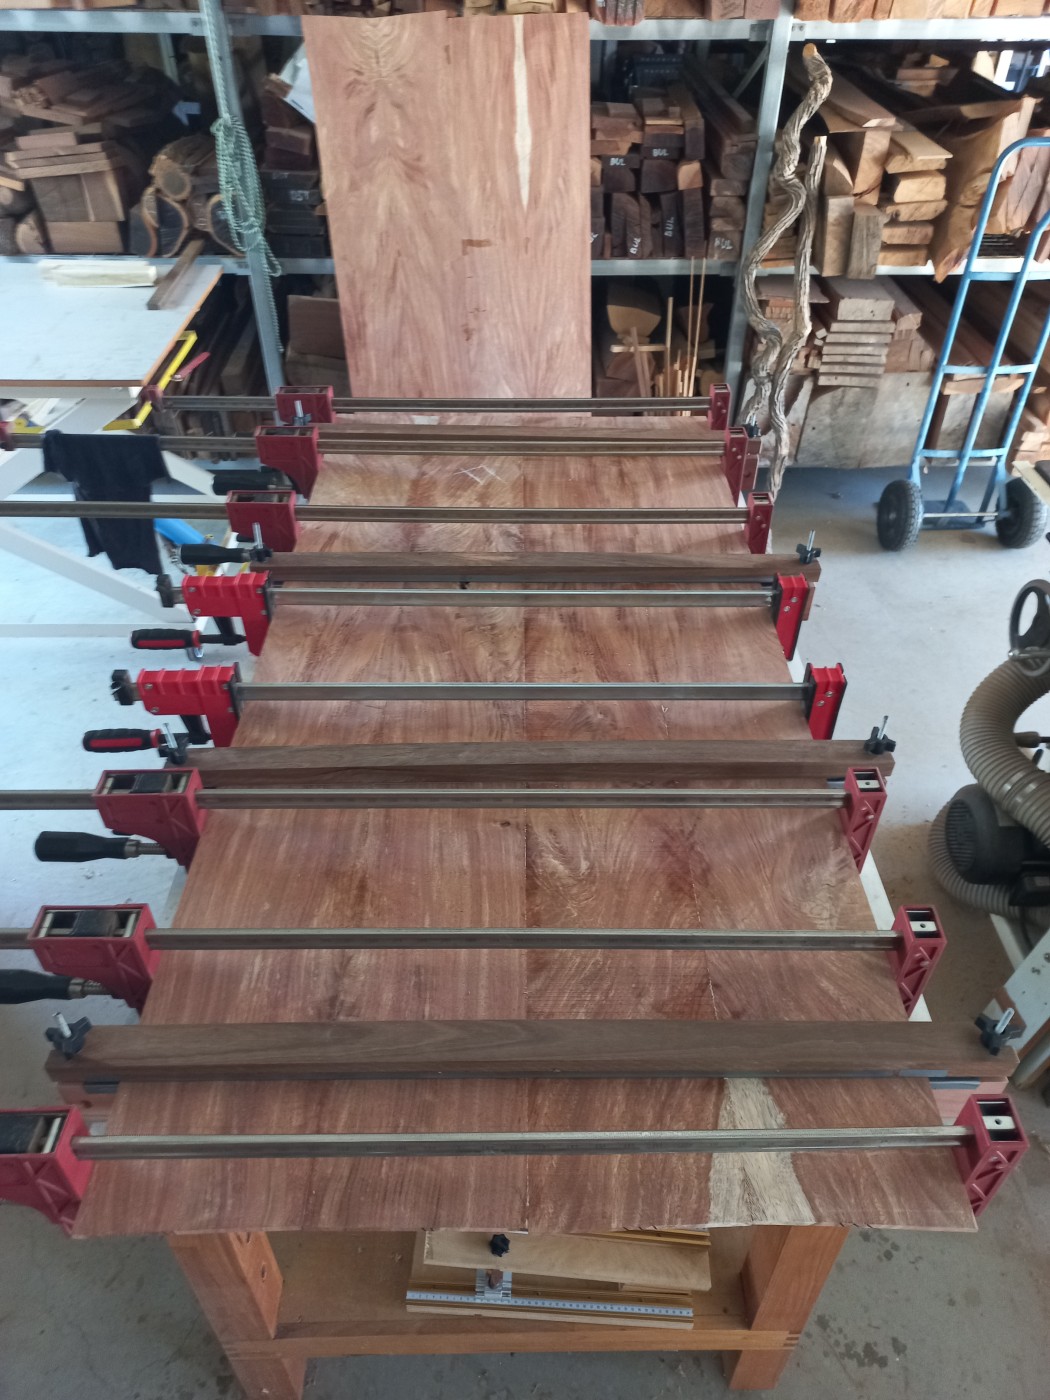
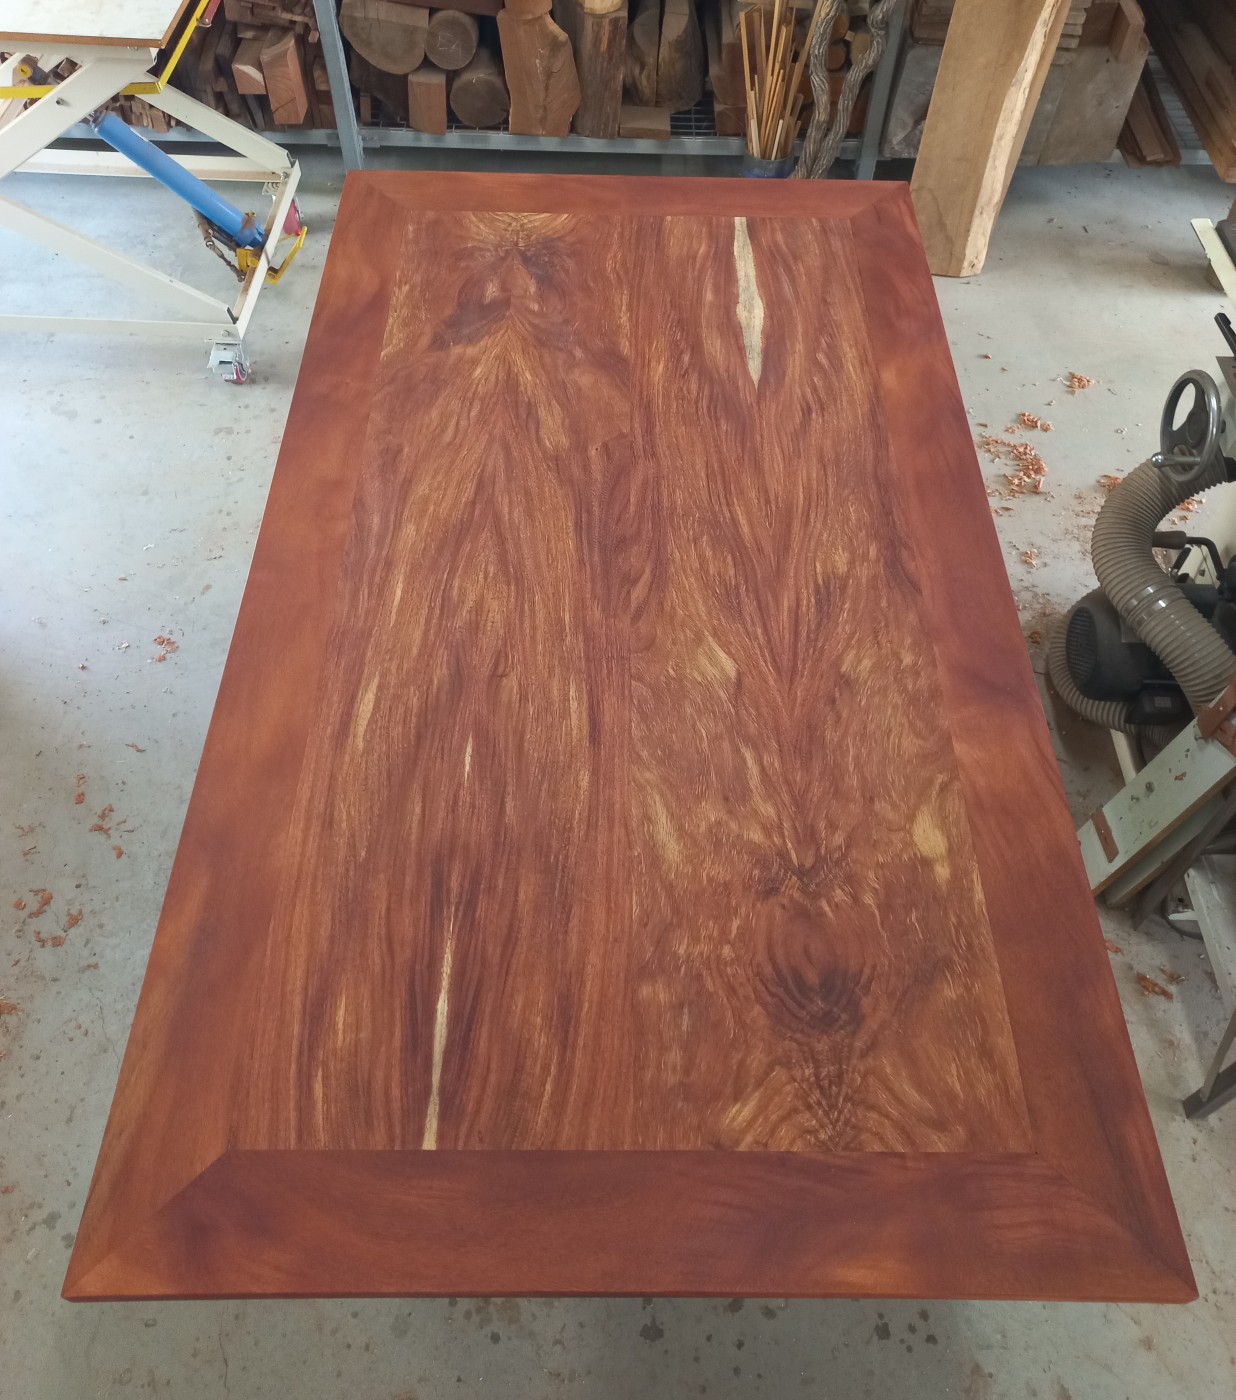
After gluing the veneers up it was down to deciding which face of which set
was going to be my final top . . . the sheet on the right was the pick!
The veneers were then glued to a piece of 16mm MDF to give me a total
thickness of 32mm which worked well(left).
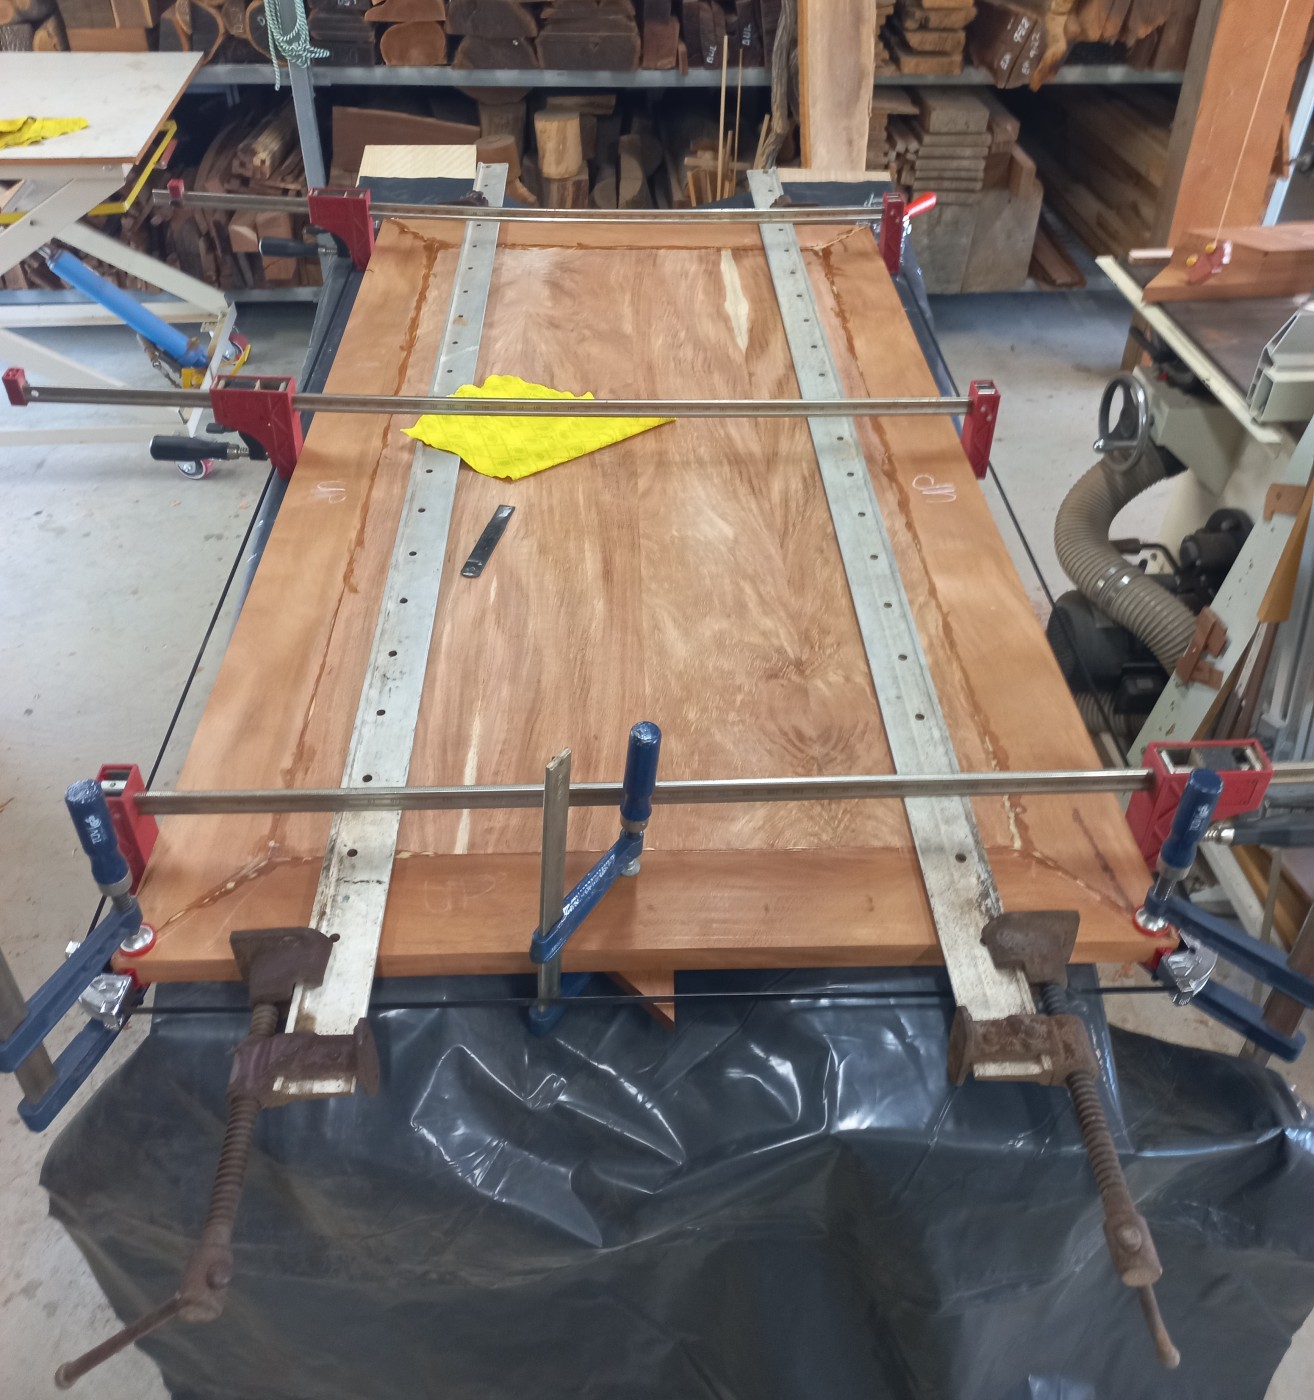
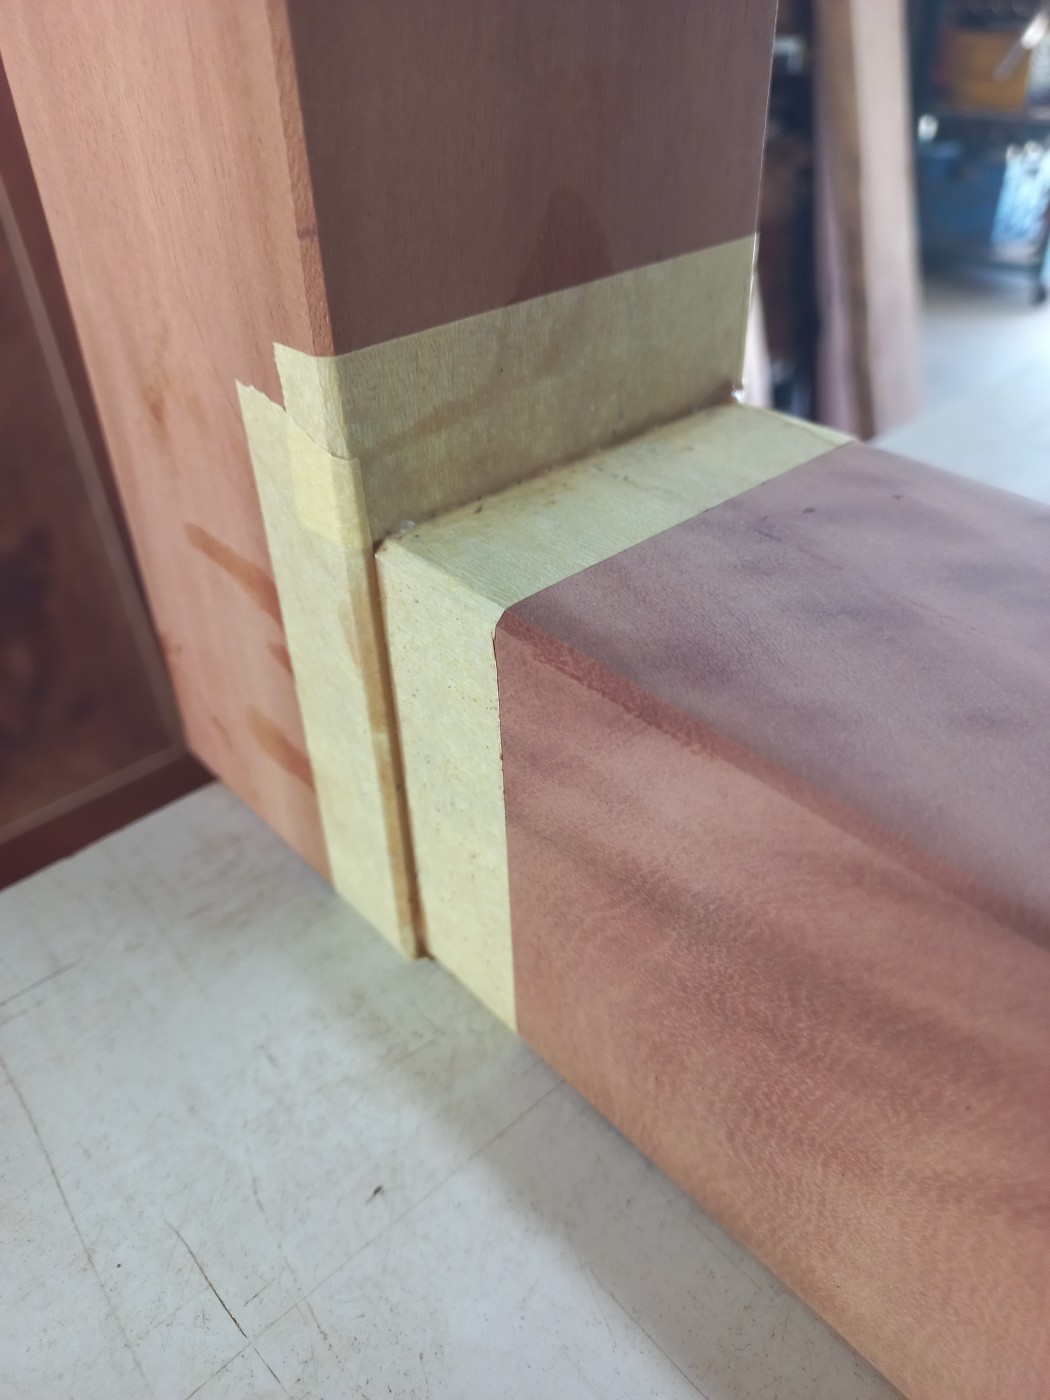
After that part stood against the racks for over 18 months, I got
around to making the mitred Rose Mahogany frame which was joined with
dominos in the corners and more dominos between the frame and centrepiece -
made for a tricky glue-up! (right)
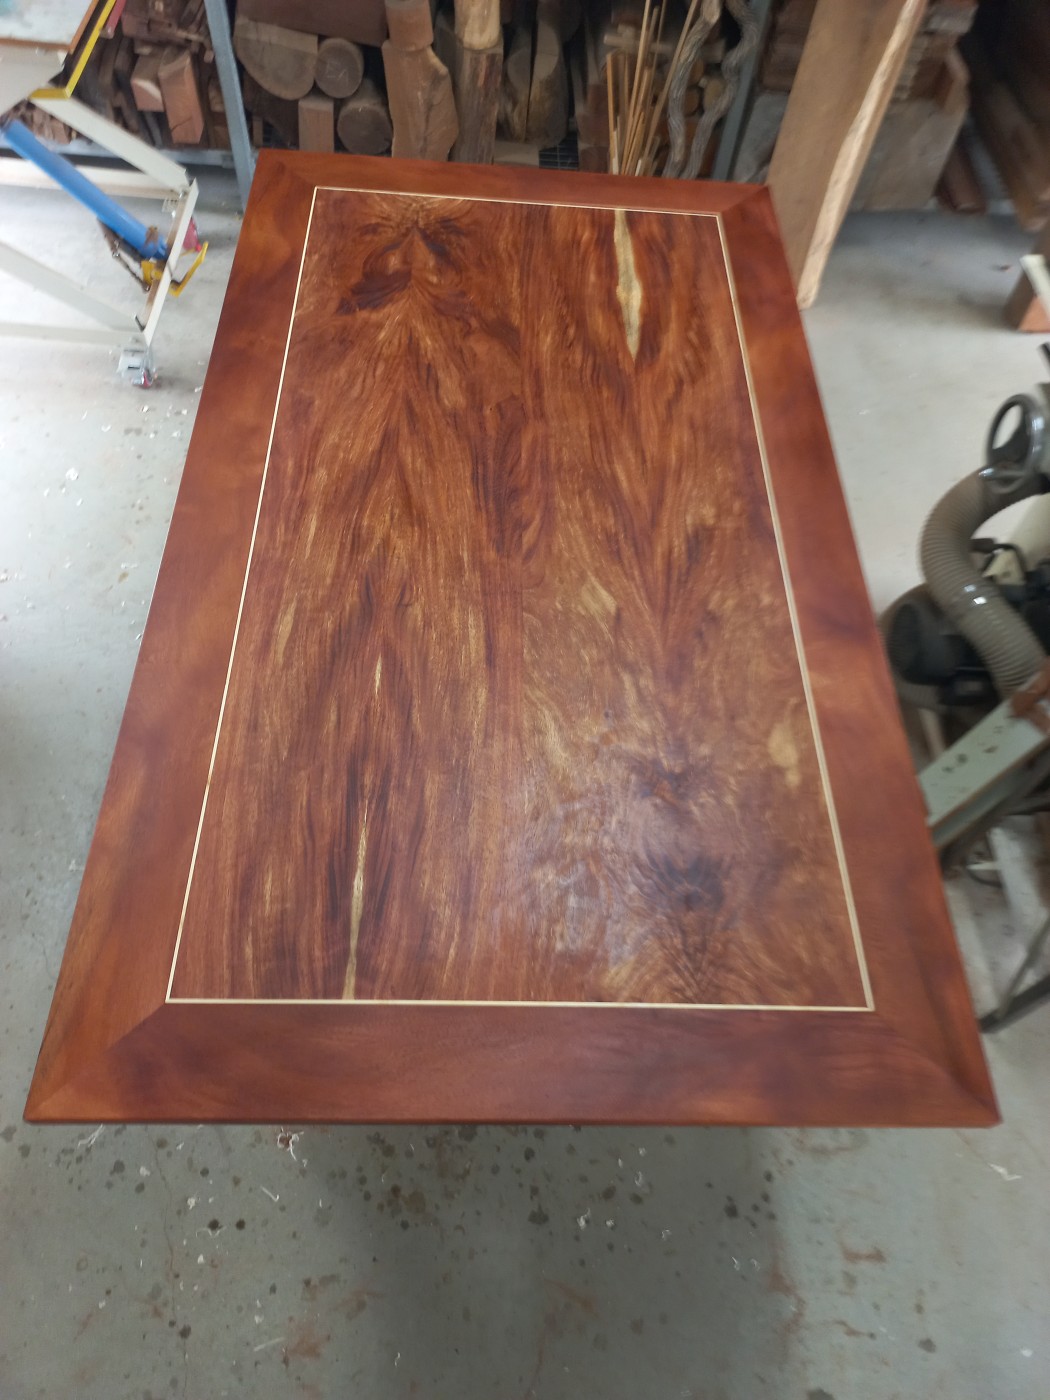
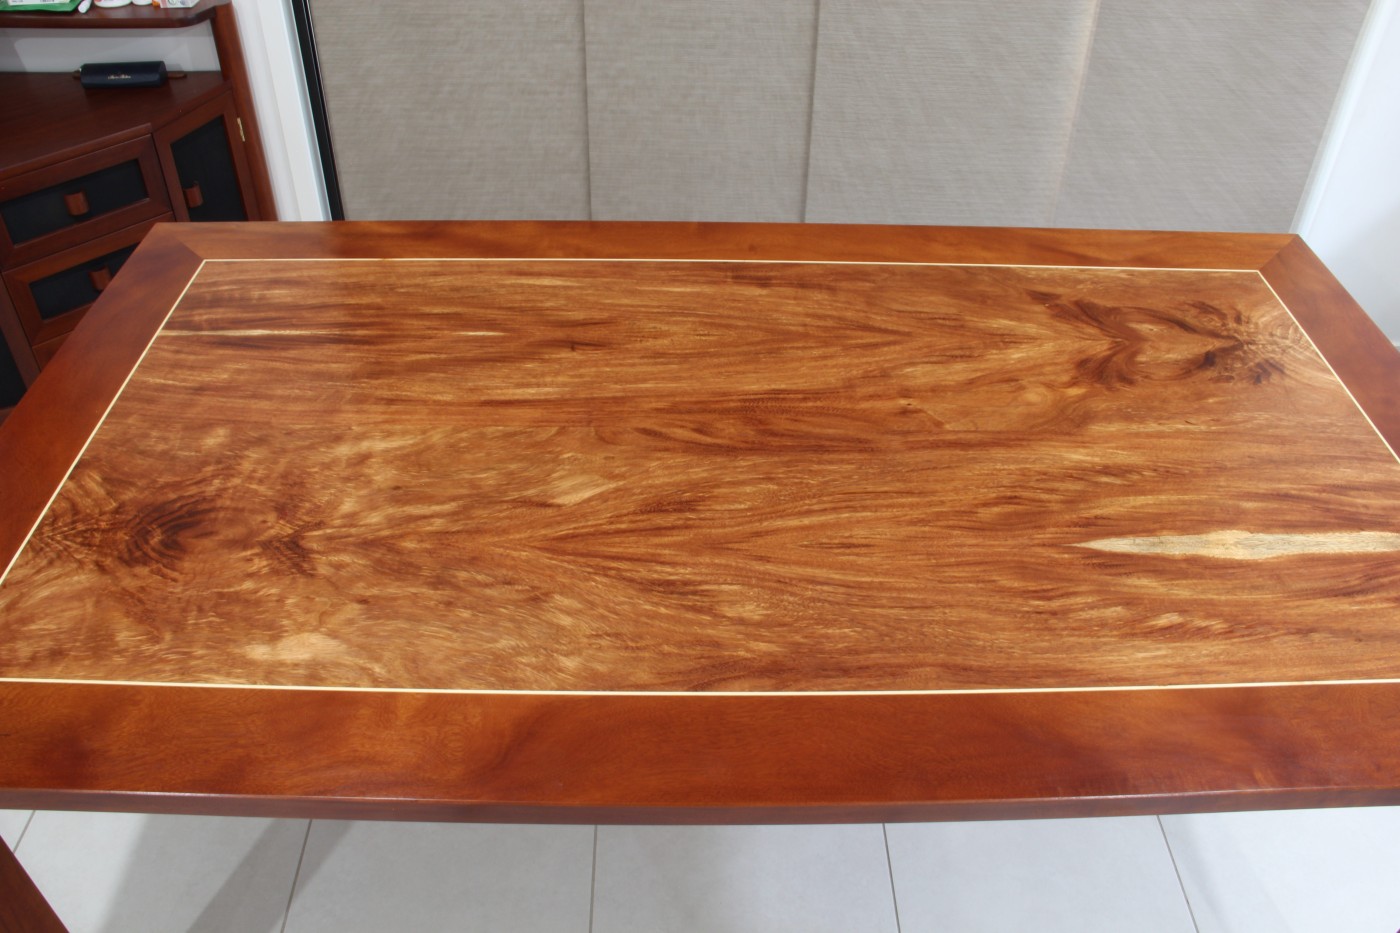
After sanding and a coat of oil, as I expected, the Rose Mahogany and Mackay
Cedar were too close in colour to be left as is (left) - needed some
definition!
I then fitted strips of 4mm wide Norfolk Island Hibiscus stringing (right)
which highlighted the centrepiece nicely.
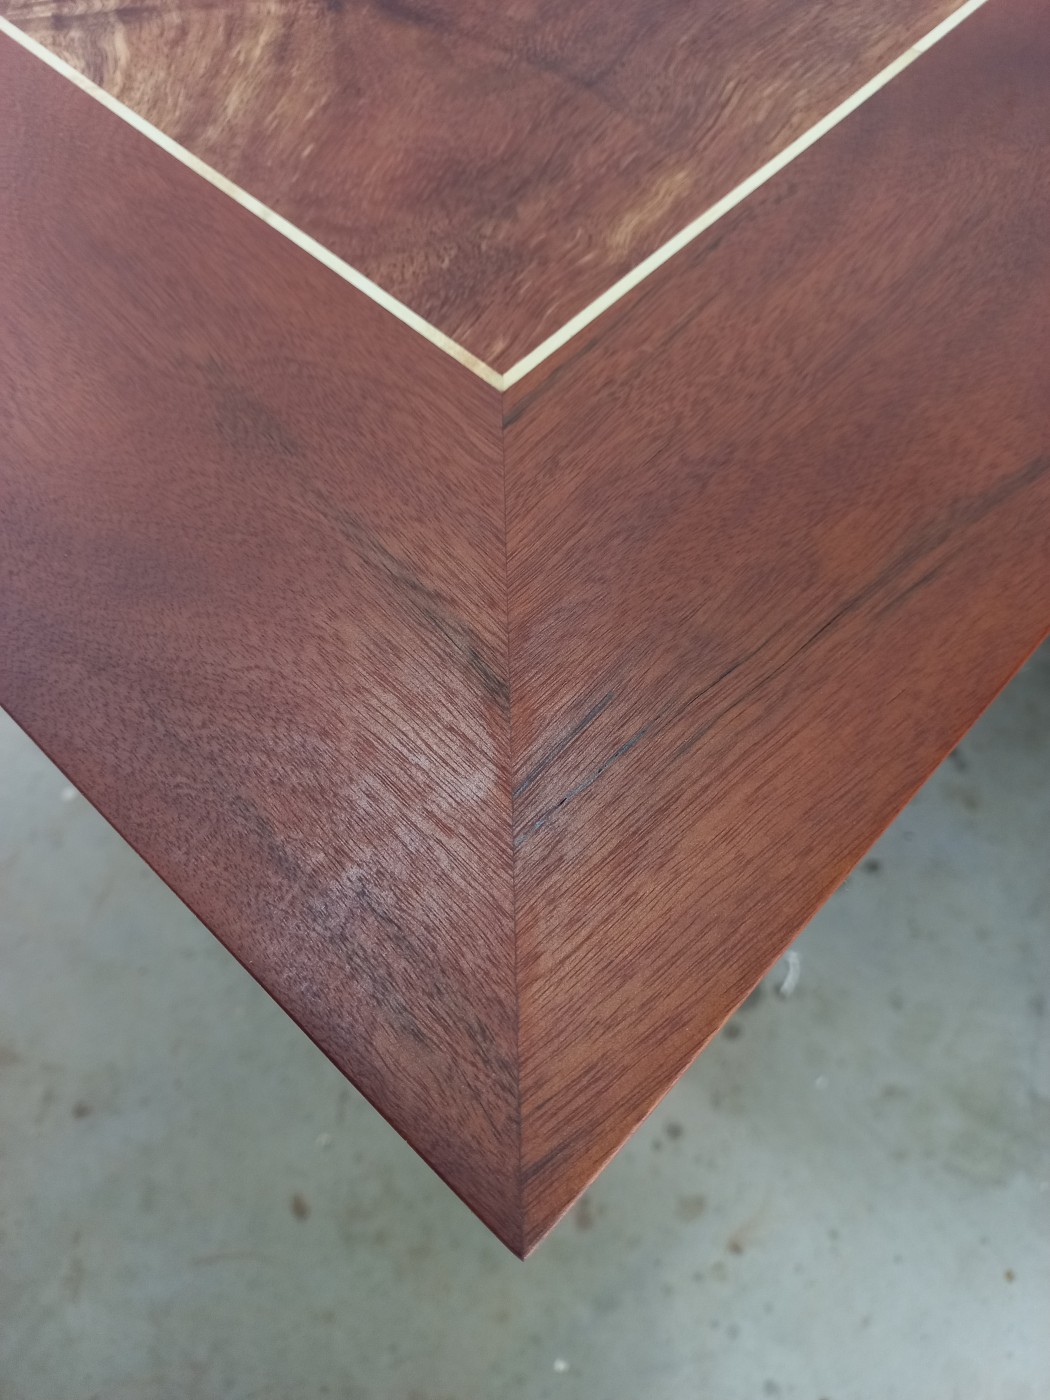
A finished corner . . .
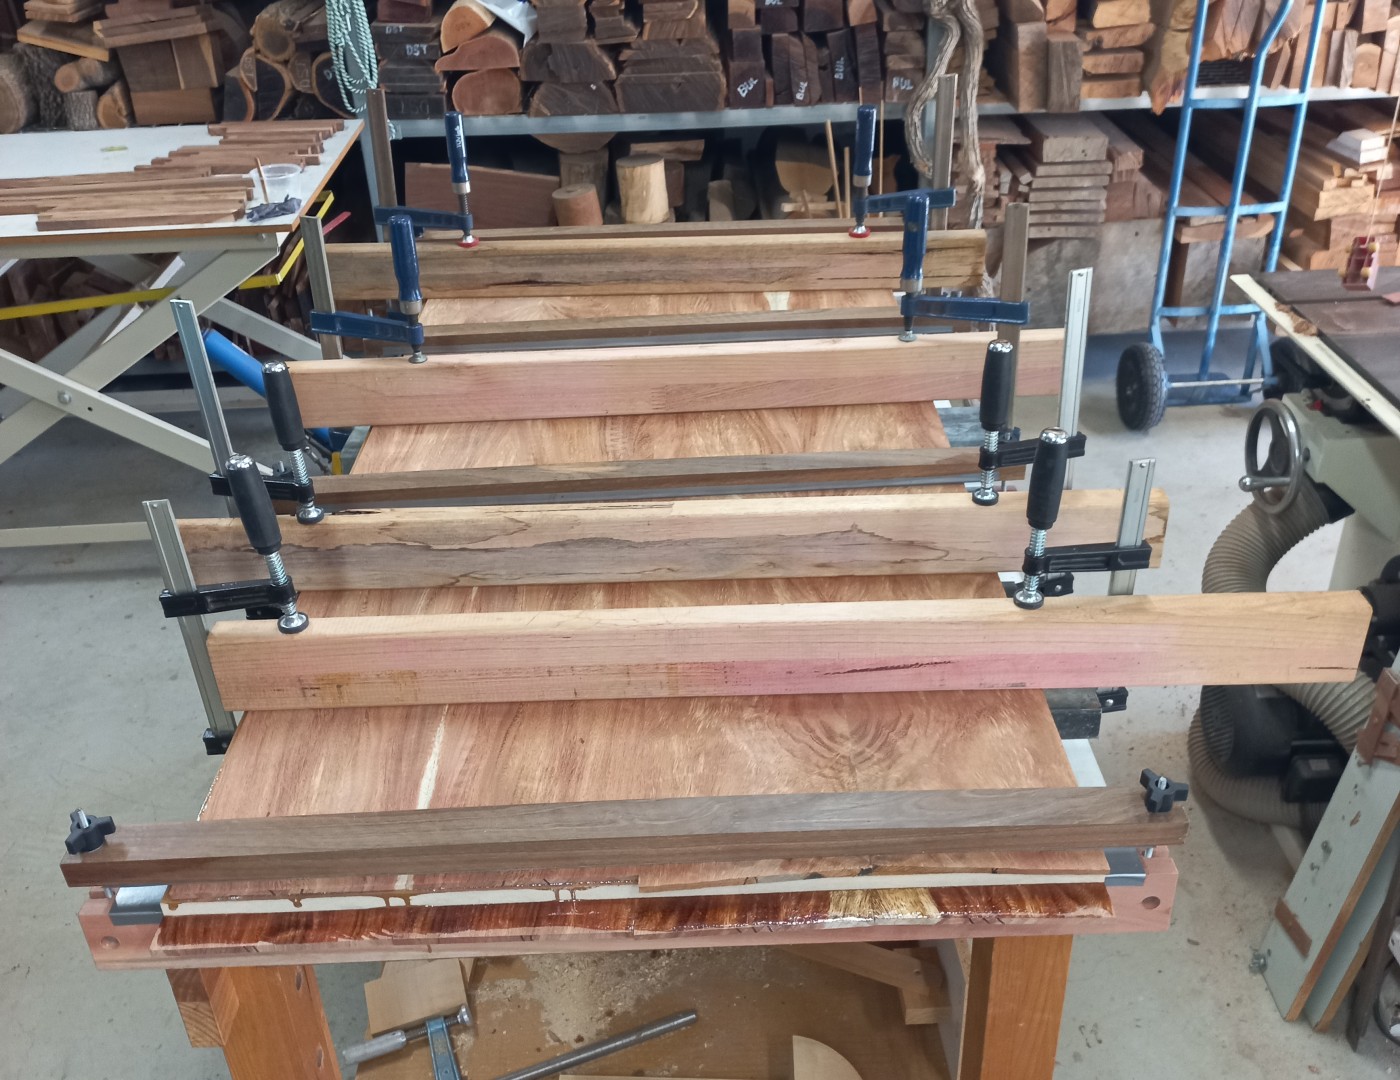
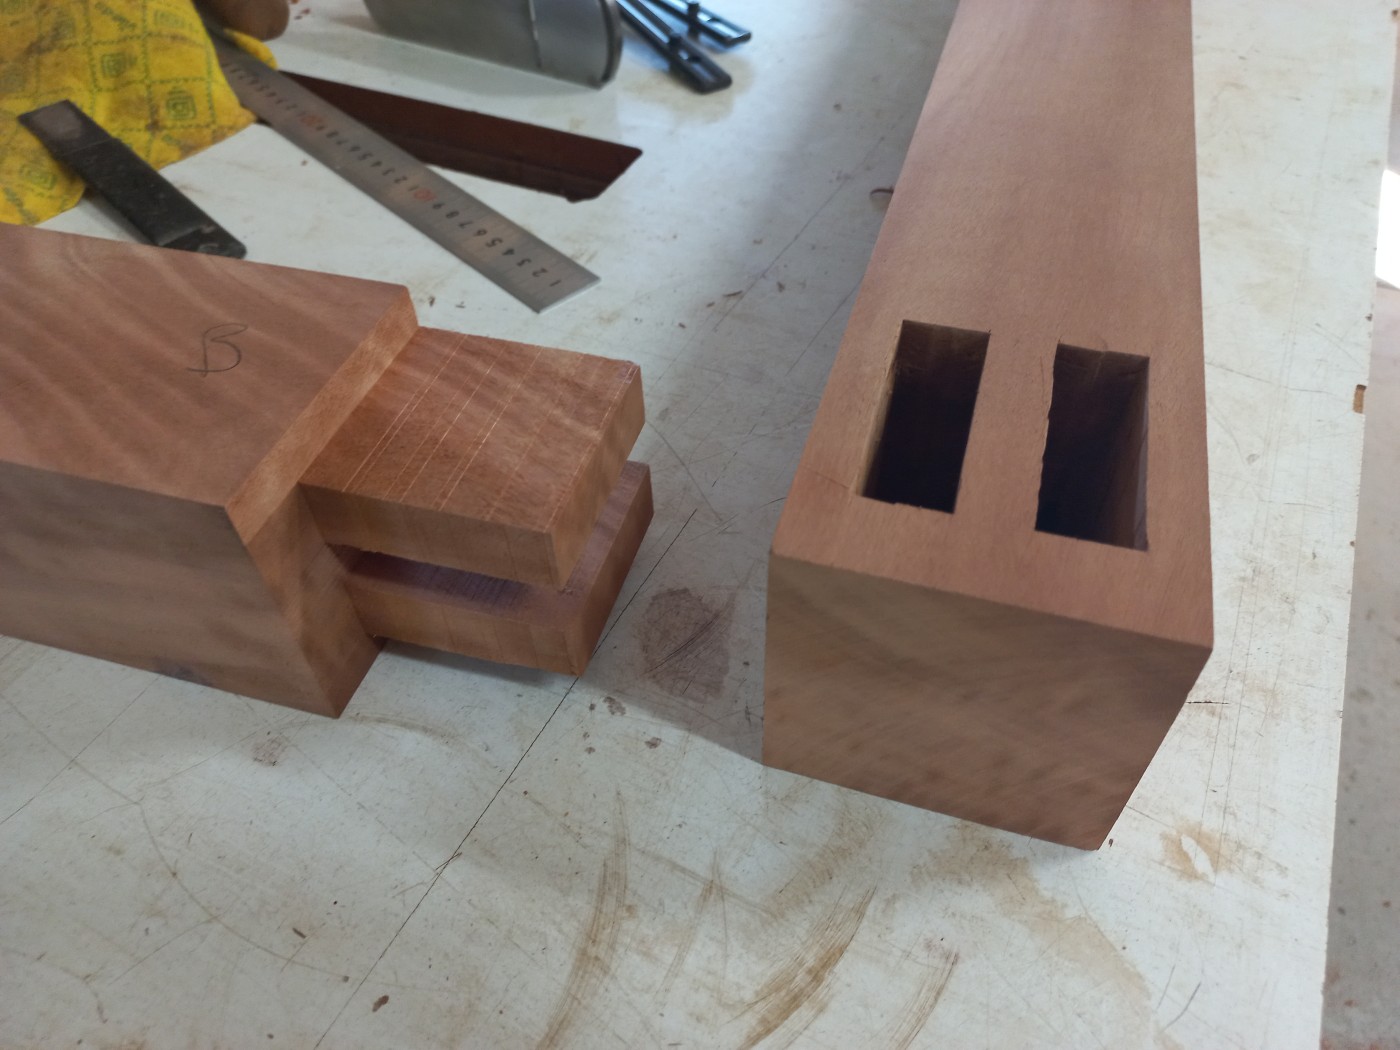
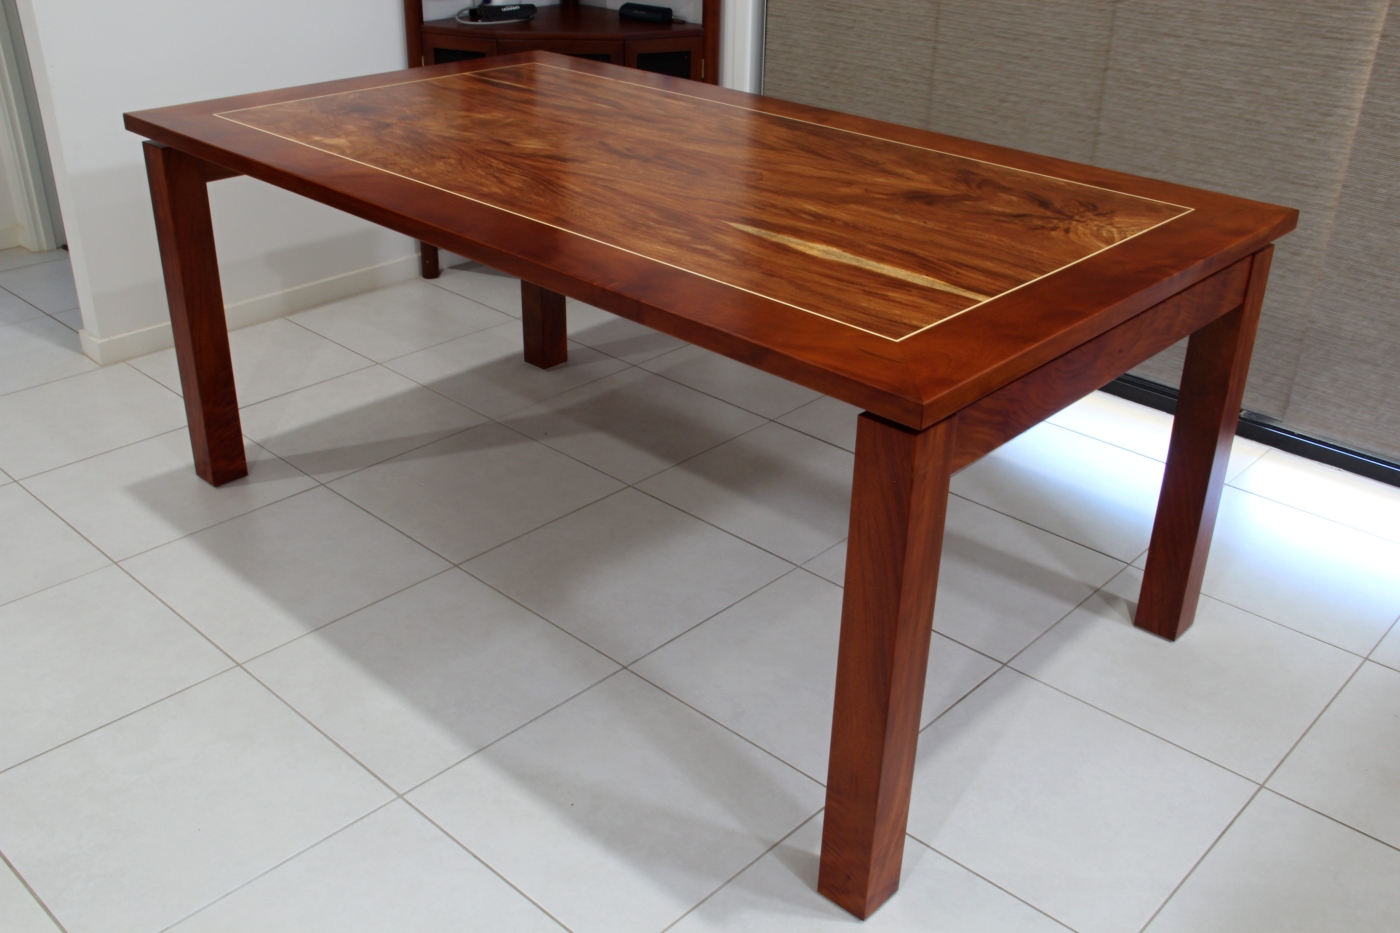
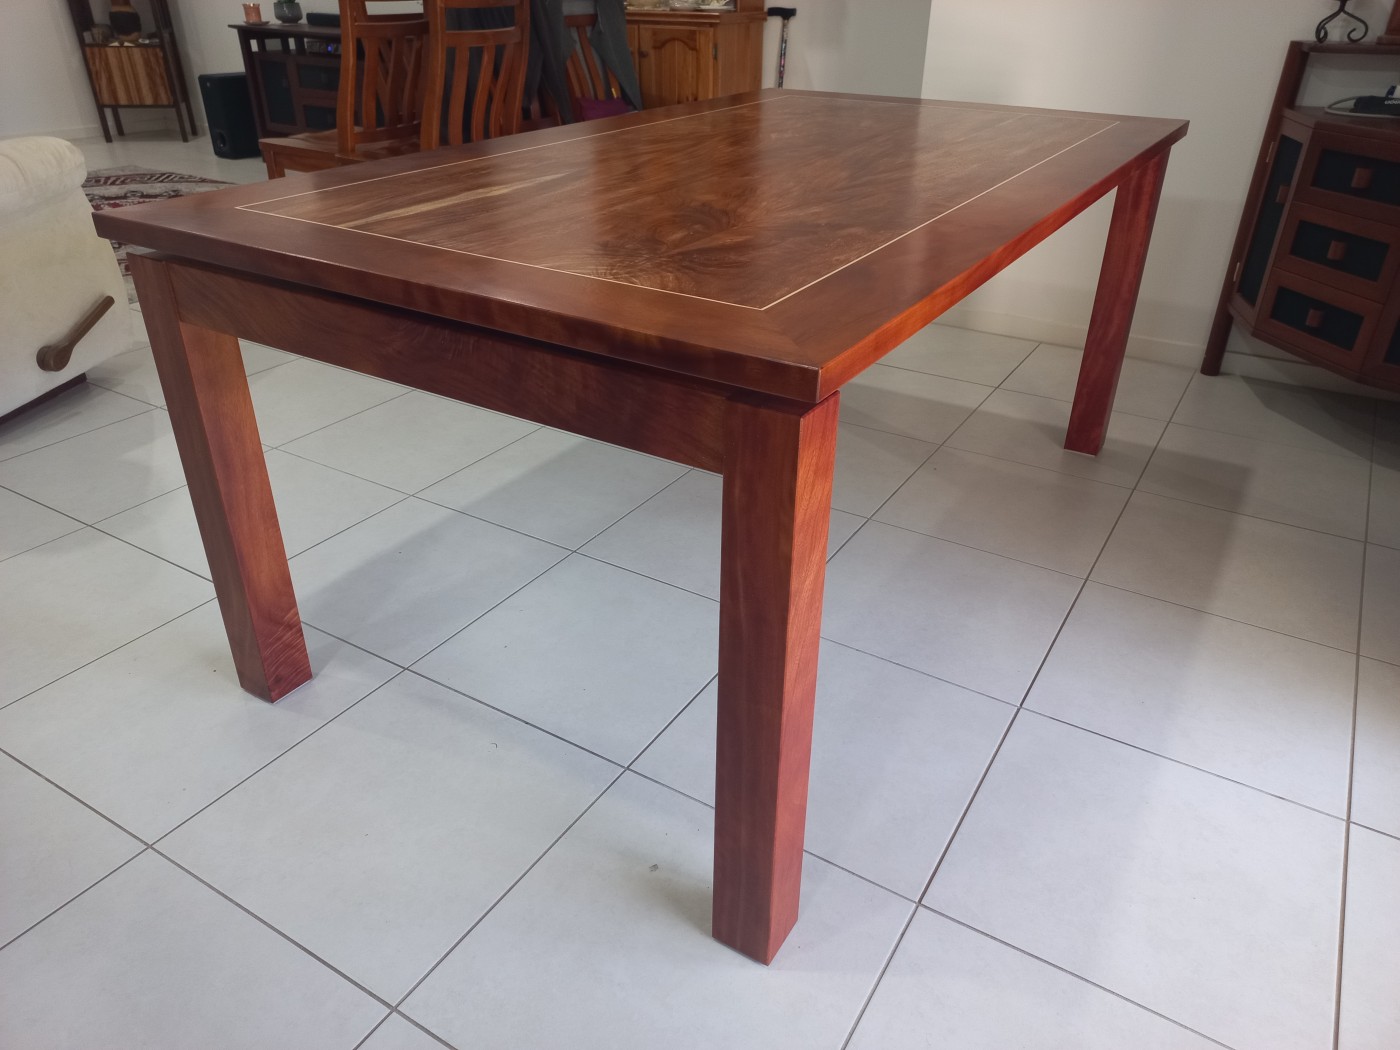
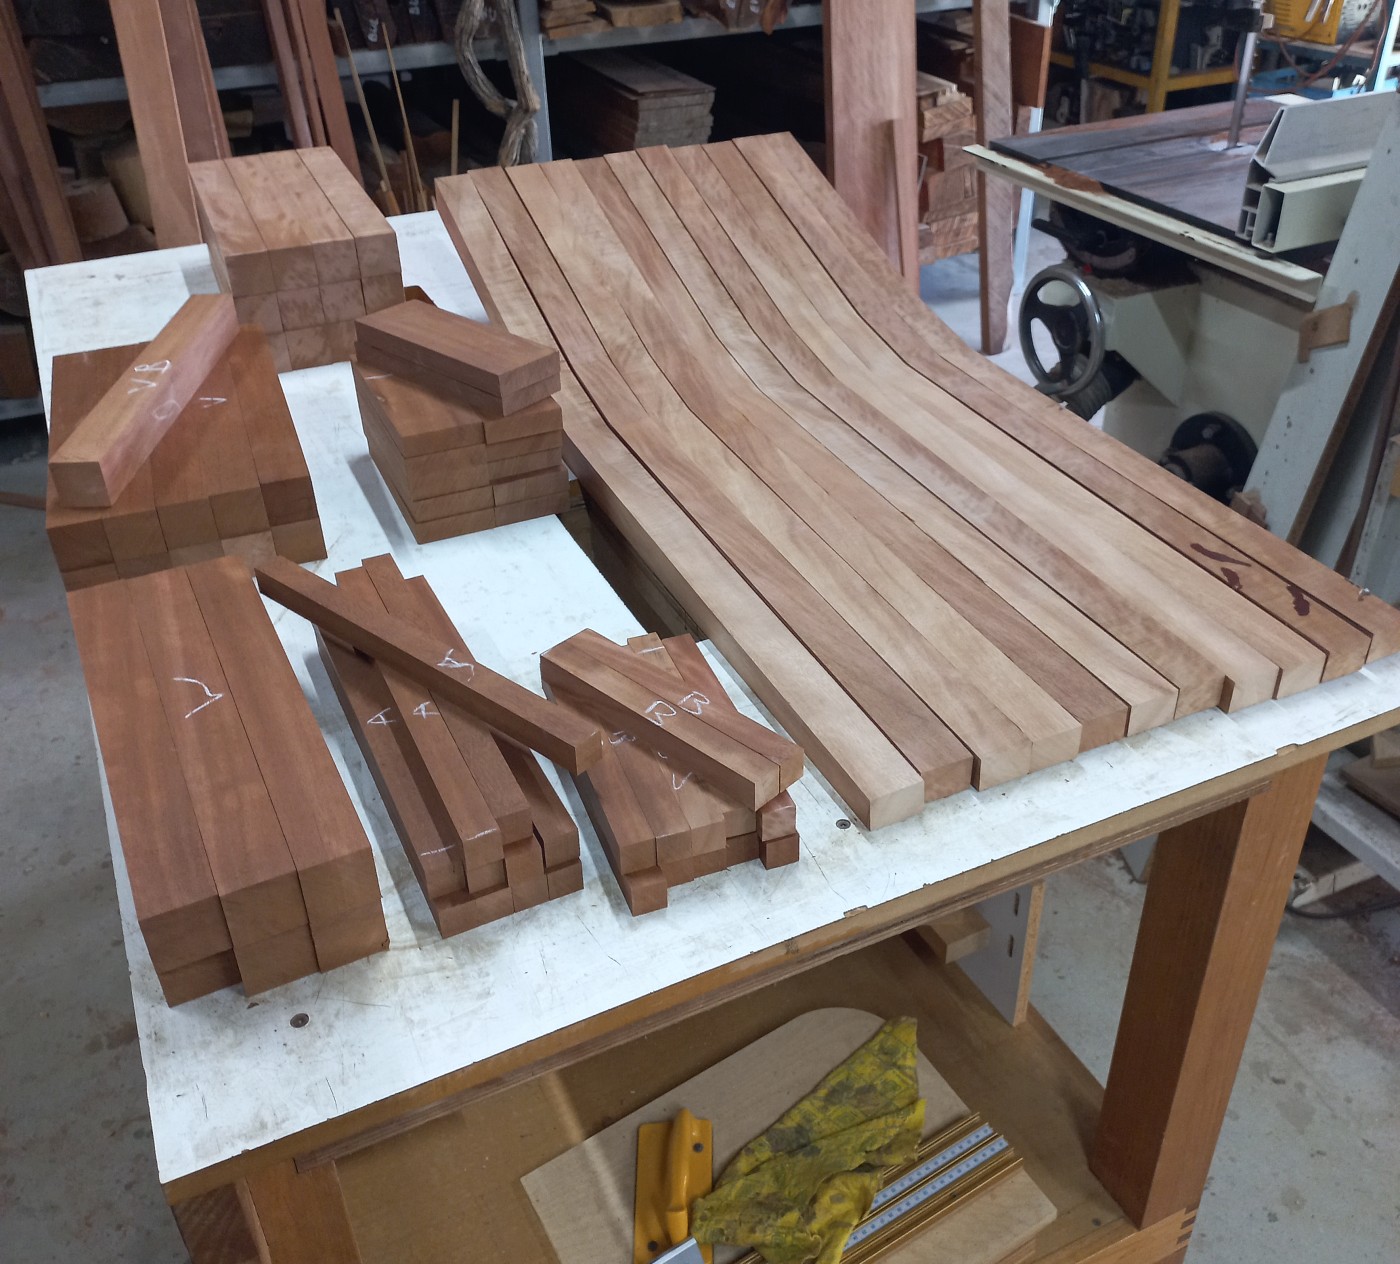
I went with 80mm square legs for a solid look and used double mortice and
tenon joints to join the leg sections.
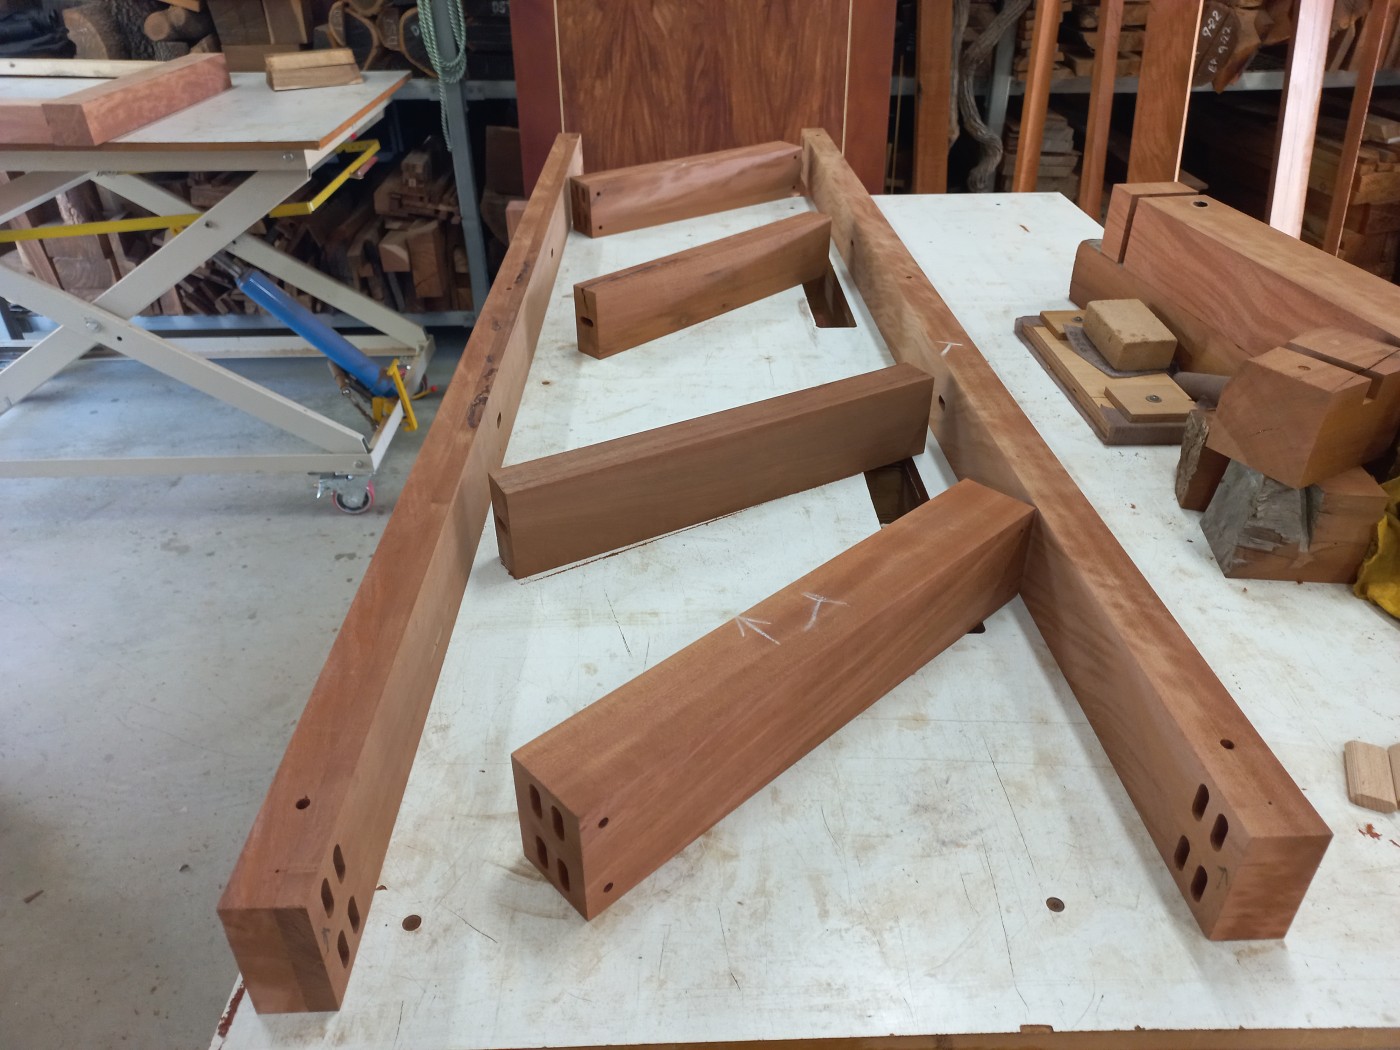
I loaded the ends of the rail assembly with large dominos for maximum
strength as this is where all the pressure would be applied when anyone
pushed the table lengthwise - should hold up OK!
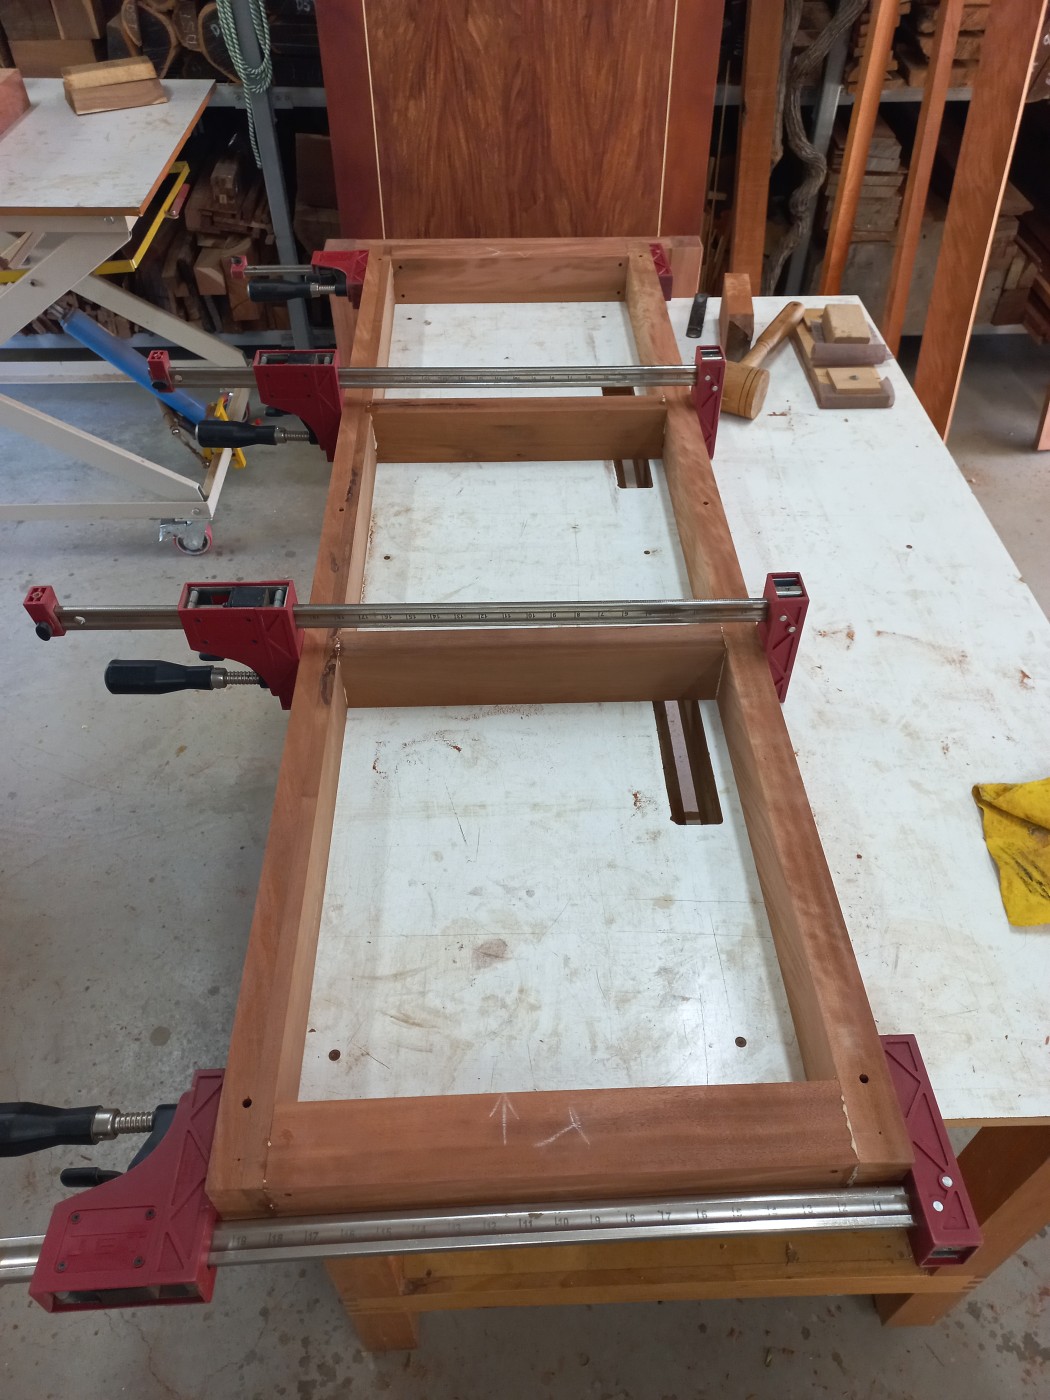
The rail assembly was bolted to the leg ends with Demon bolts which will
also be used to hold the top down on the 20mm high spacers to give it the
floating look - don't have to consider slotted holes for seasonal movement
with a veneered top.
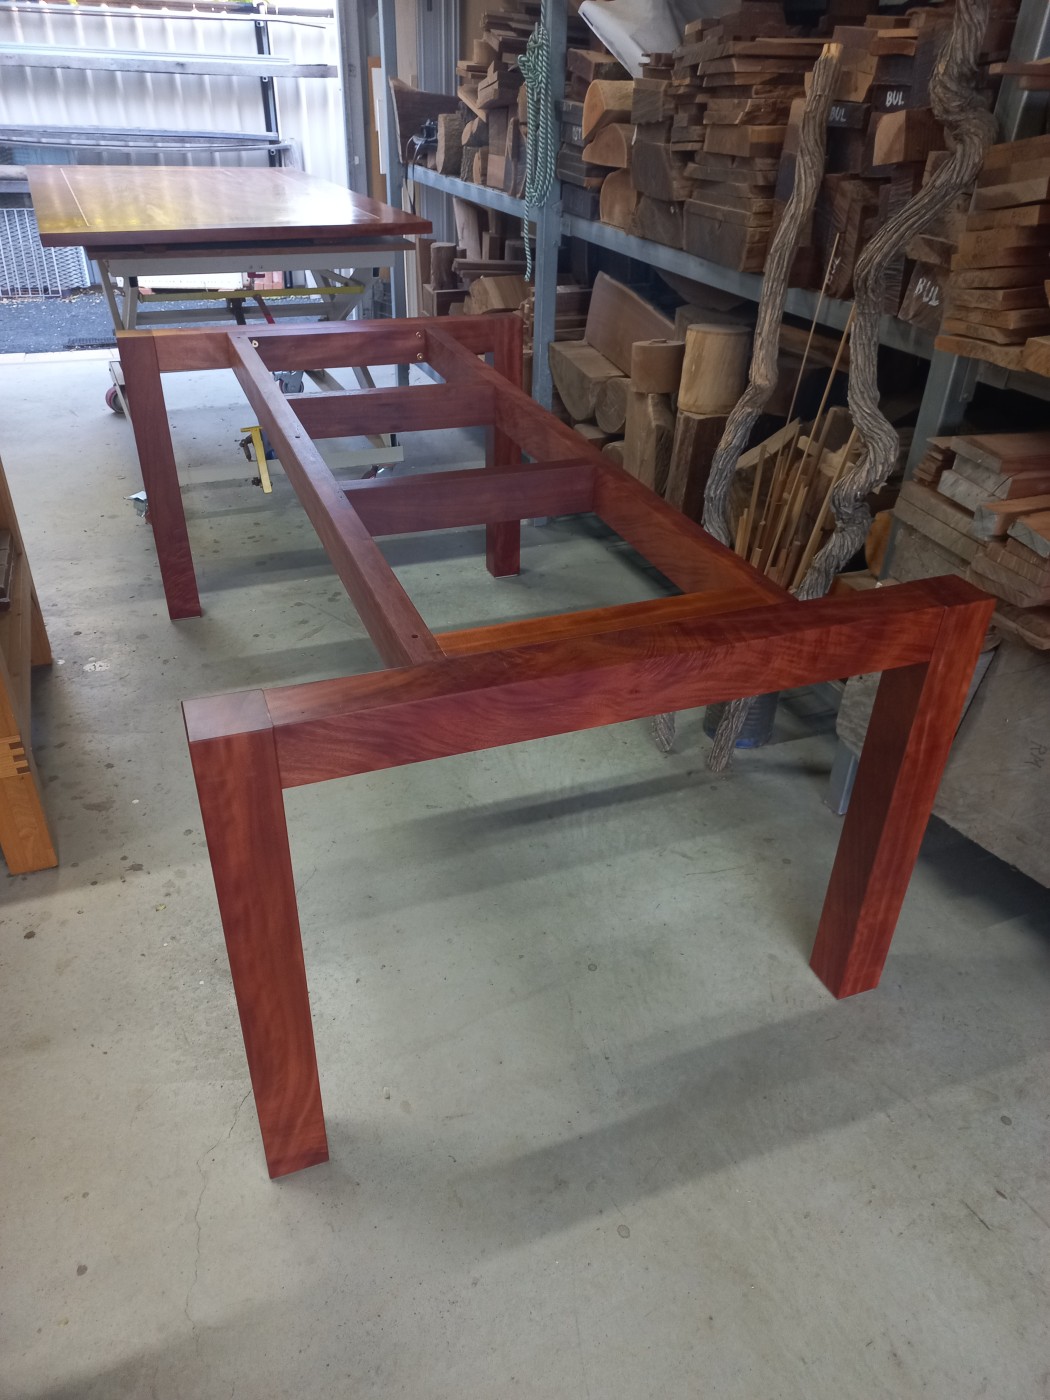
A few more coats of Kunos hardwax oil and we're done!
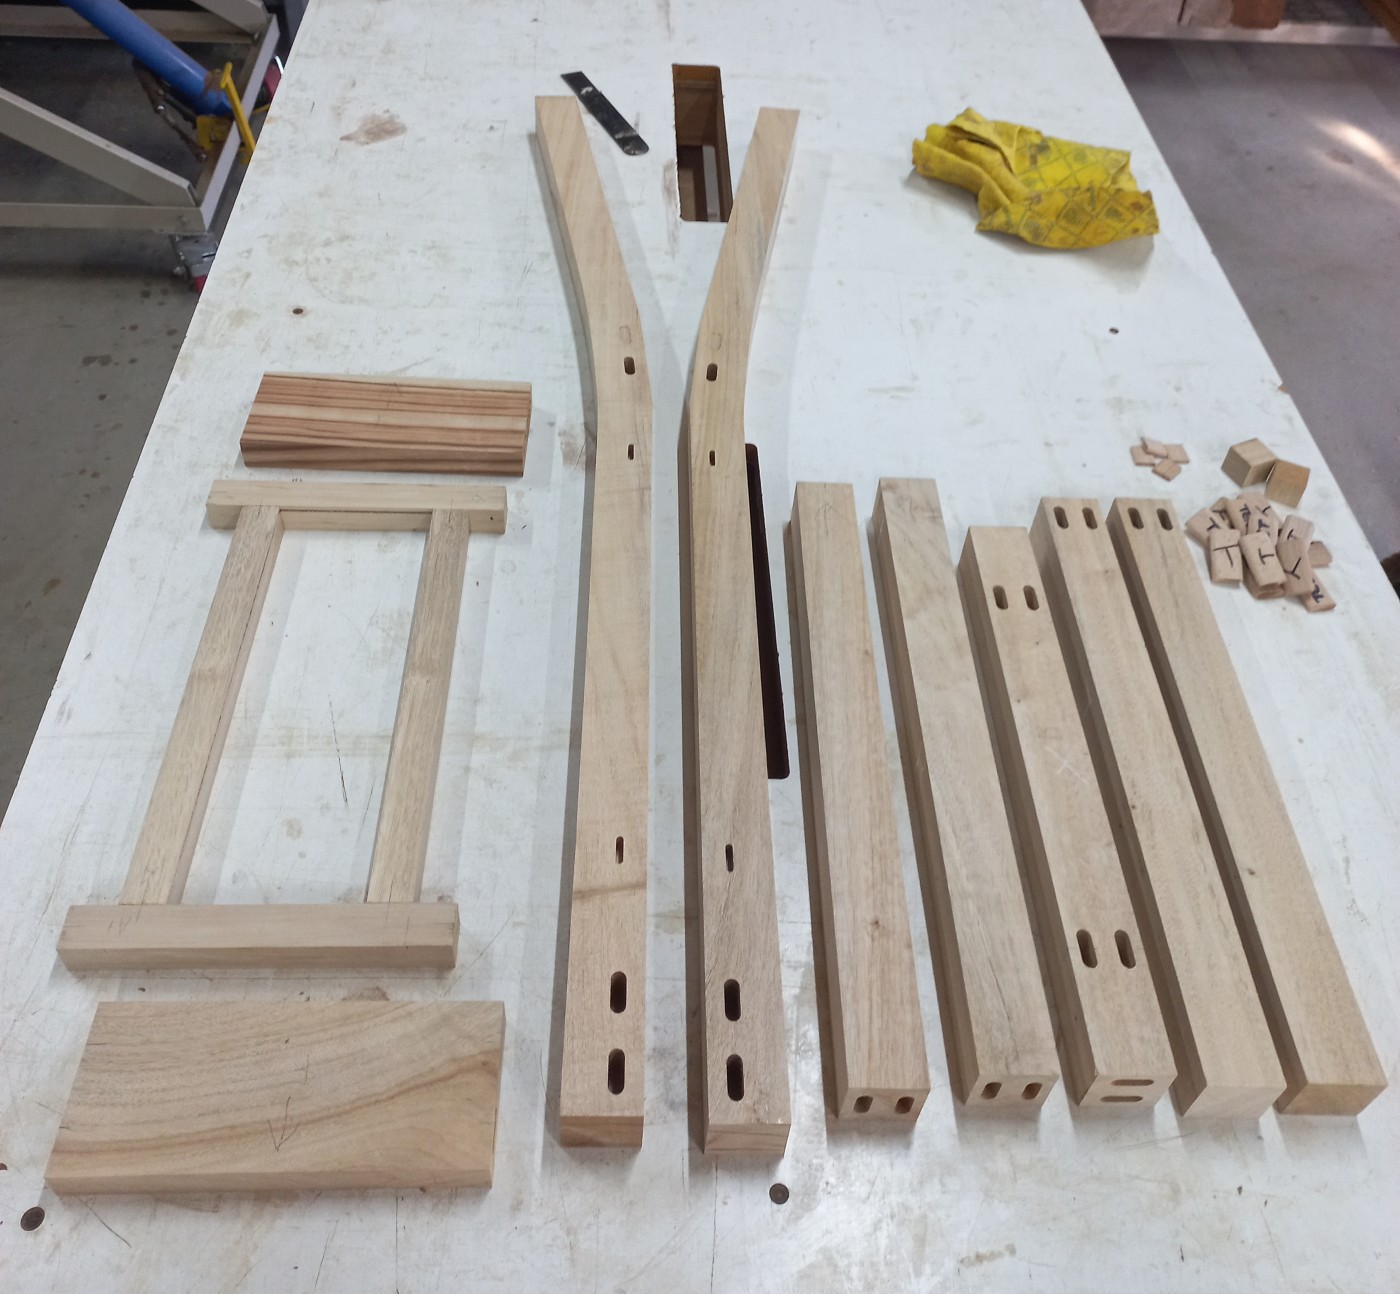
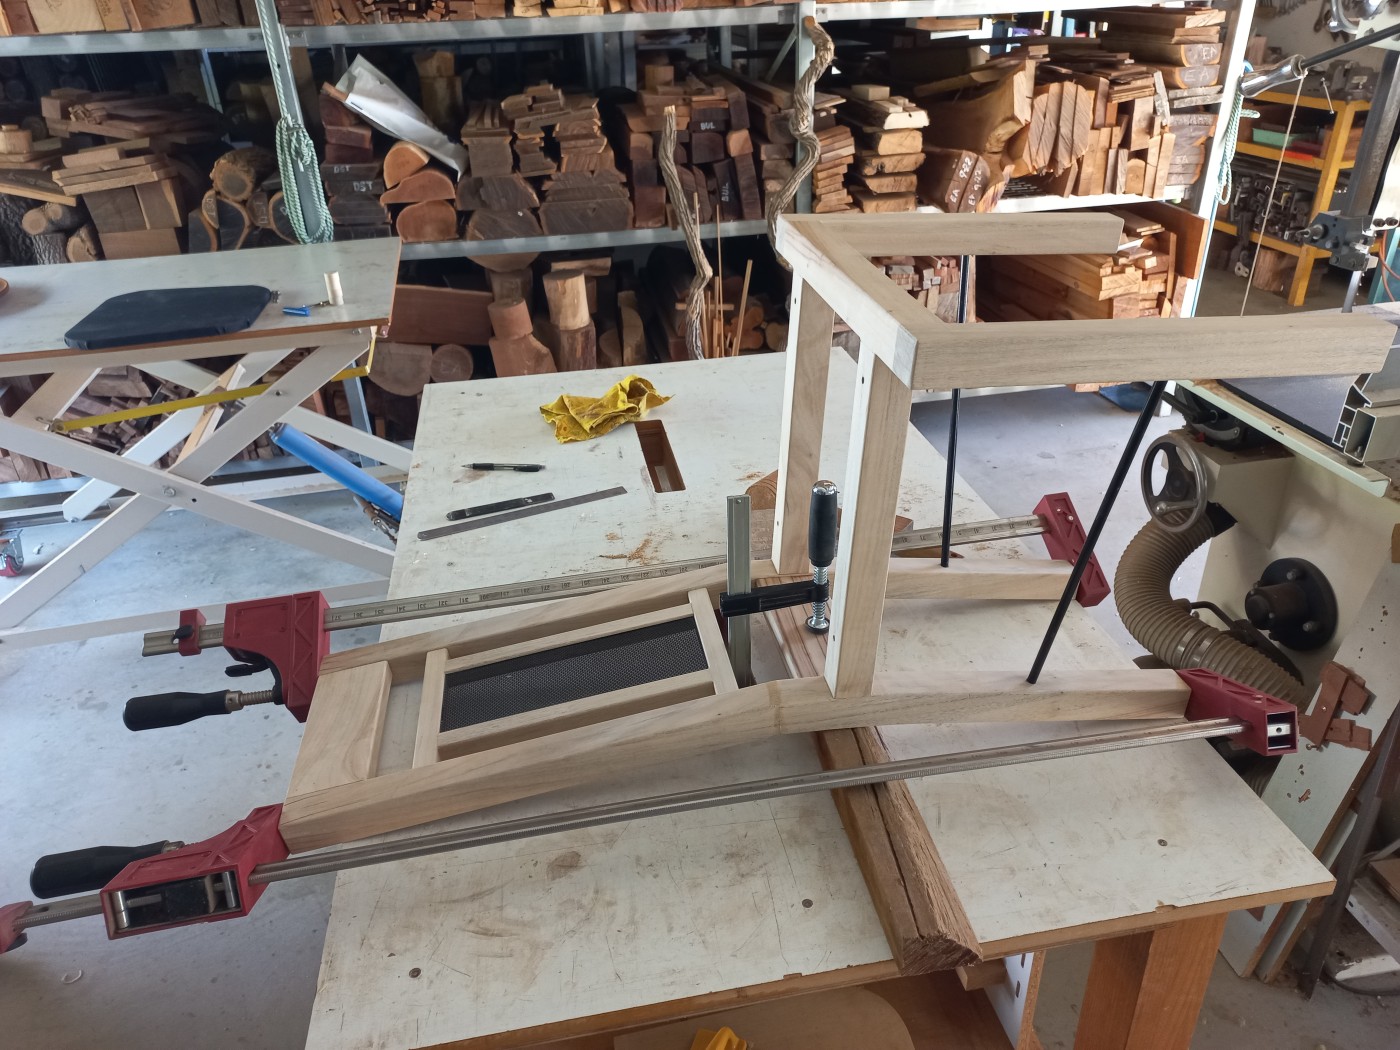
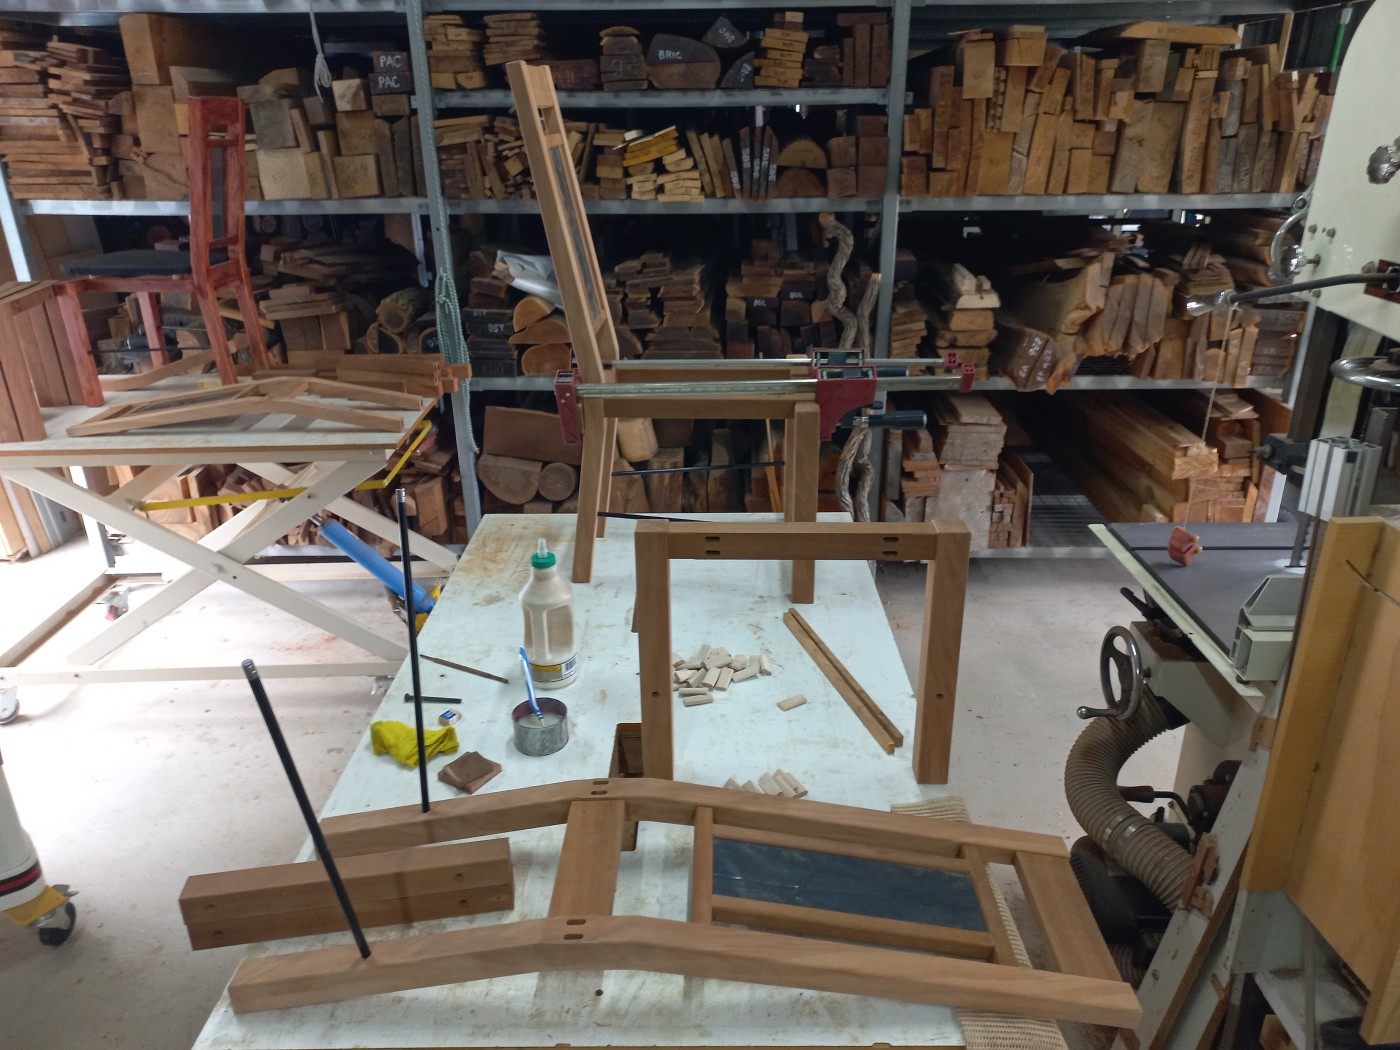
Now for the chairs! When I came up with the design for the chairs it was all
about fitting with the look of the table. I went for floating seat pads with
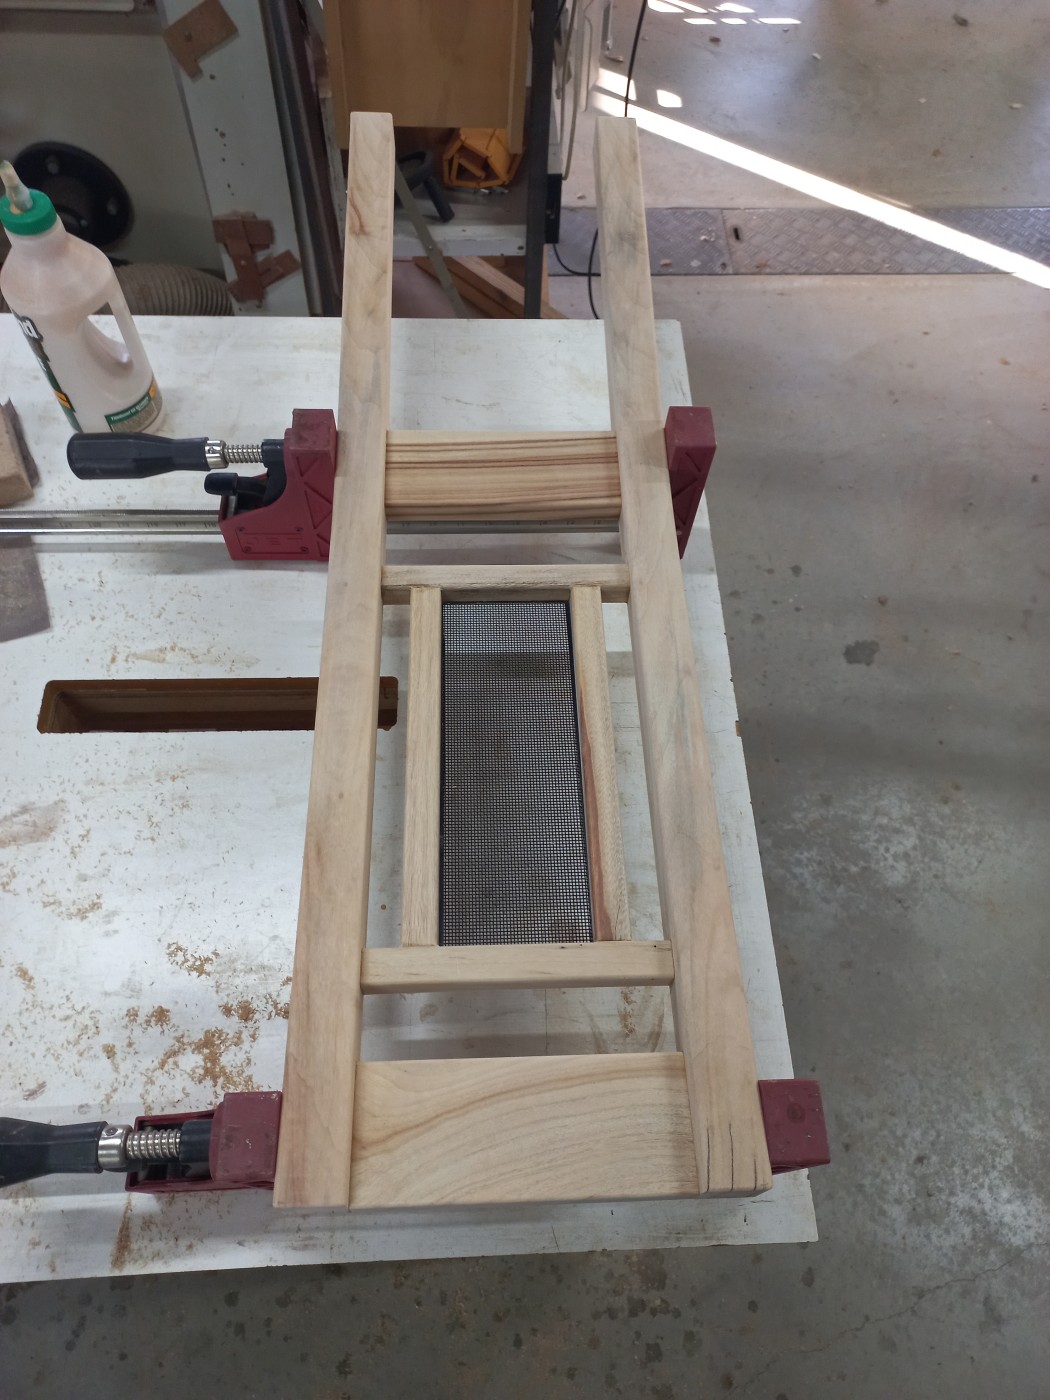
legs styled the same as the table and some security mesh in the back as I
like to do. First job was to build a 'dummy' out of rubbish timber (Camphor
laurel) to test the dimensions and ergonomics.
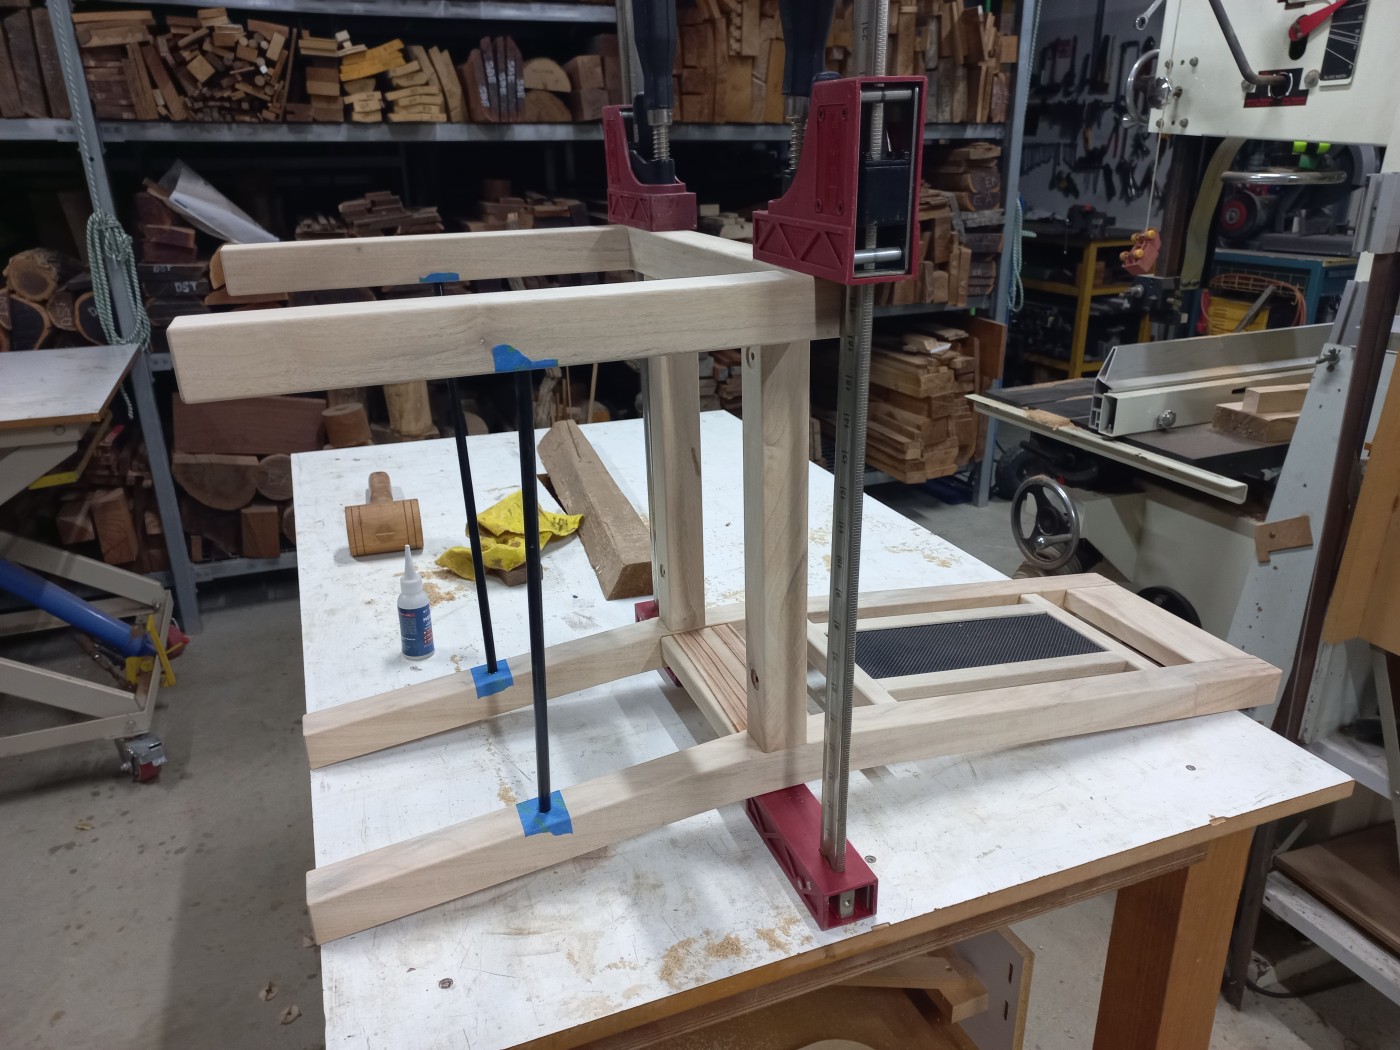
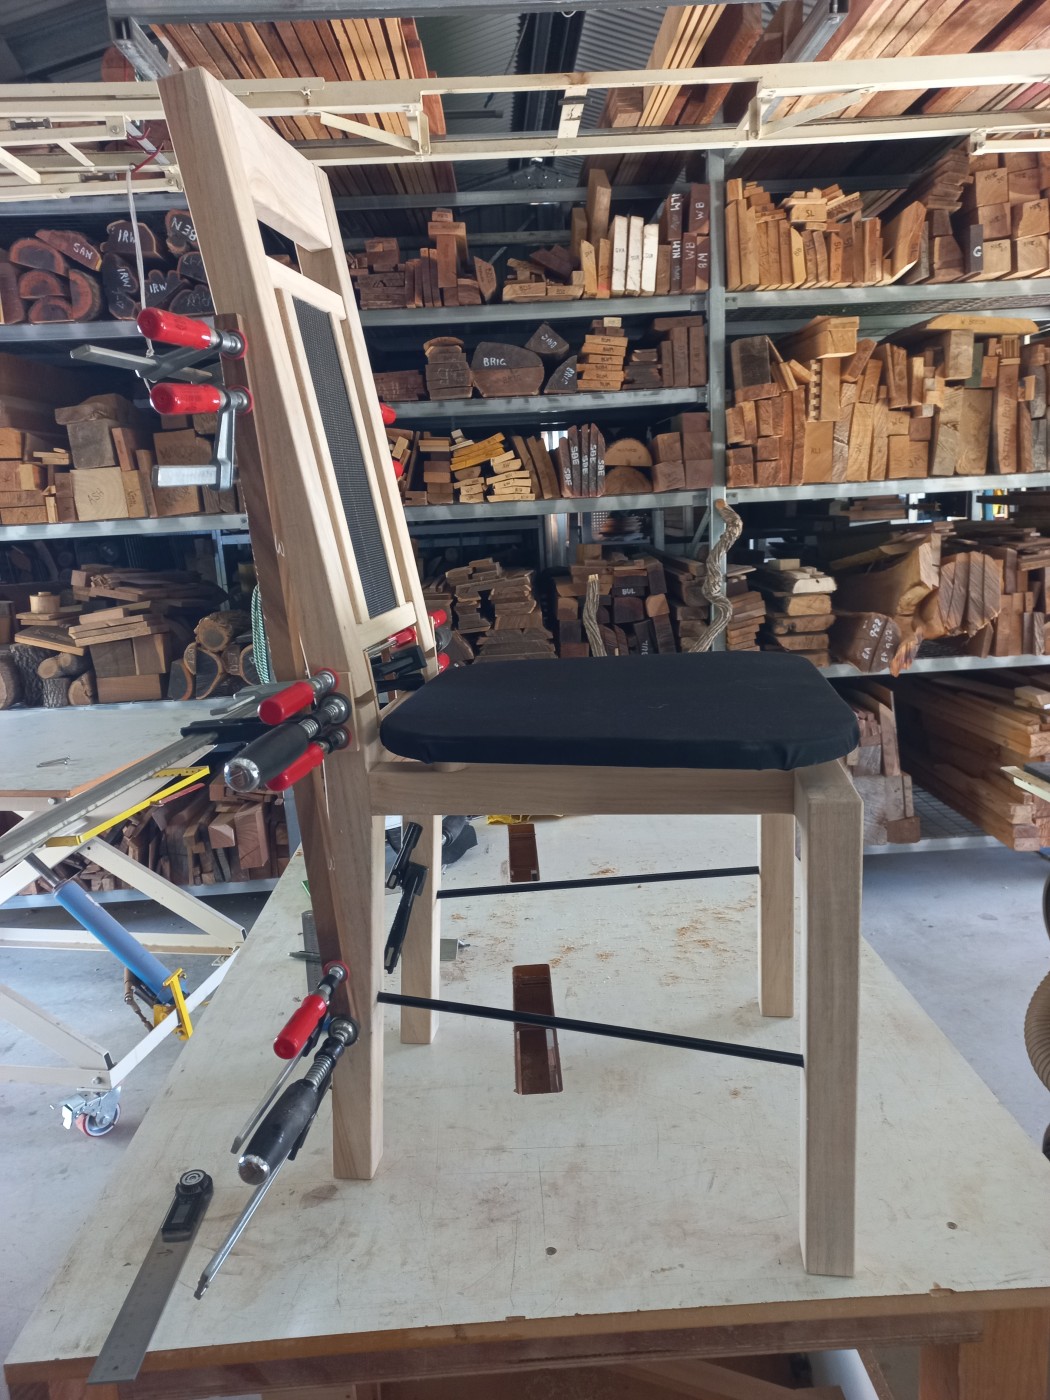
My design made for a really simple build although it took me while to decide
on what to use for stretchers or even if I needed them at all - ended up
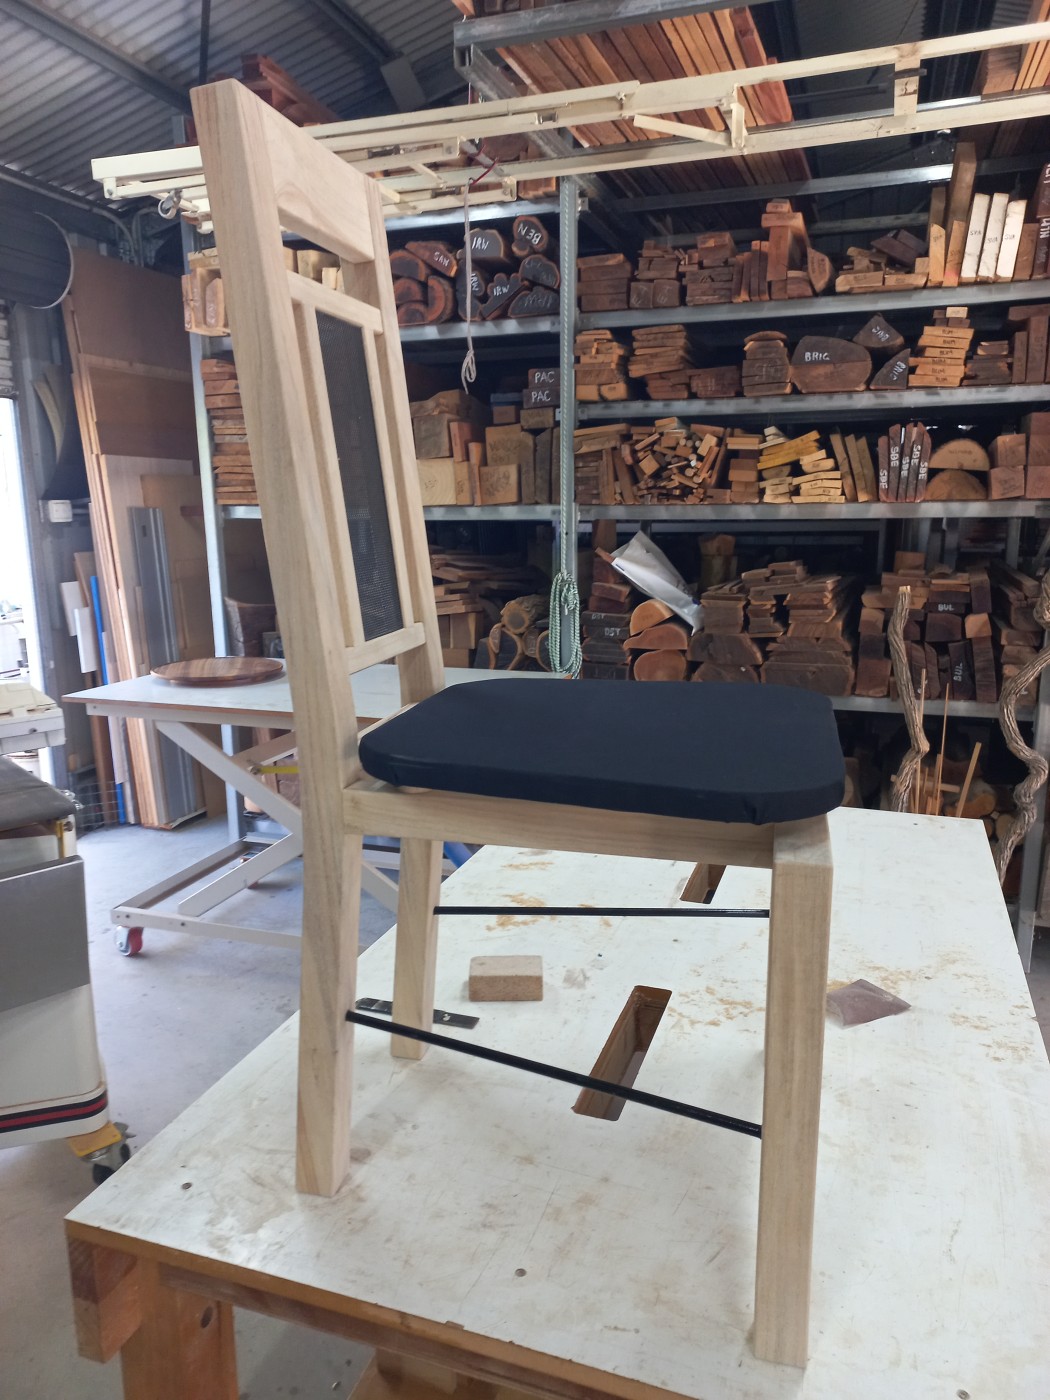
using 10mm steel bar. With a seat pad roughed out of some exercise mat and
cloth, it was time to test it out.
Whoever said 5° was suitable the back of a dining chair was full of it! Had to
'cut&shut' the back to increase the angle considerably before I felt it was
right - ended up at 12°
I put the 'dummy' into service for a few weeks while I contemplated changes
I could make to improve the appearance but I was very happy with the comfort
side of things.
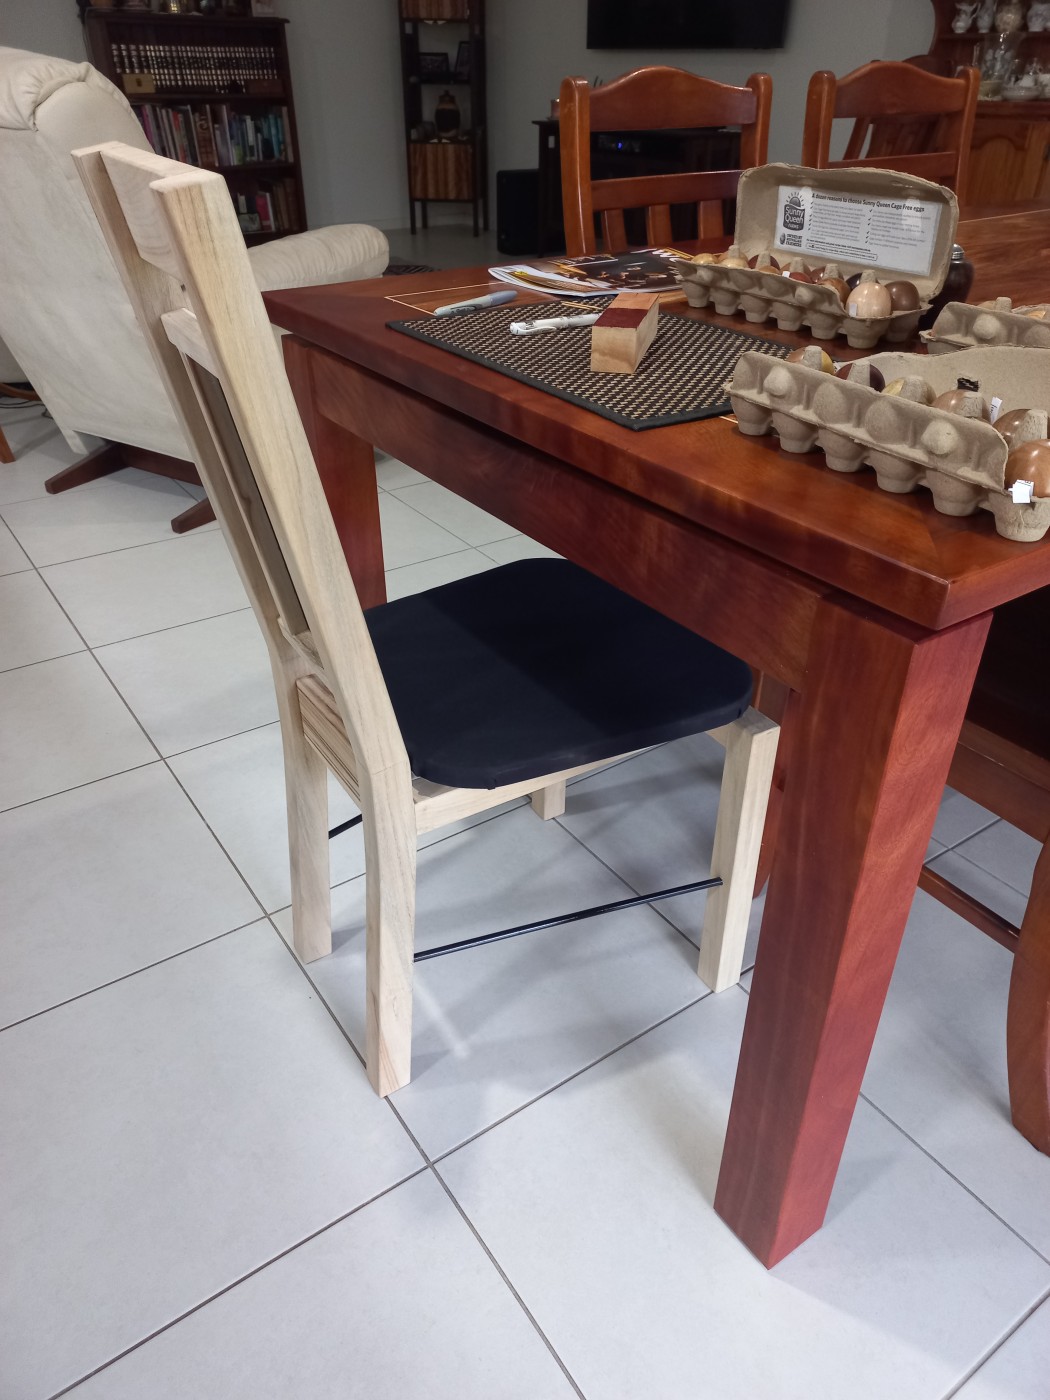
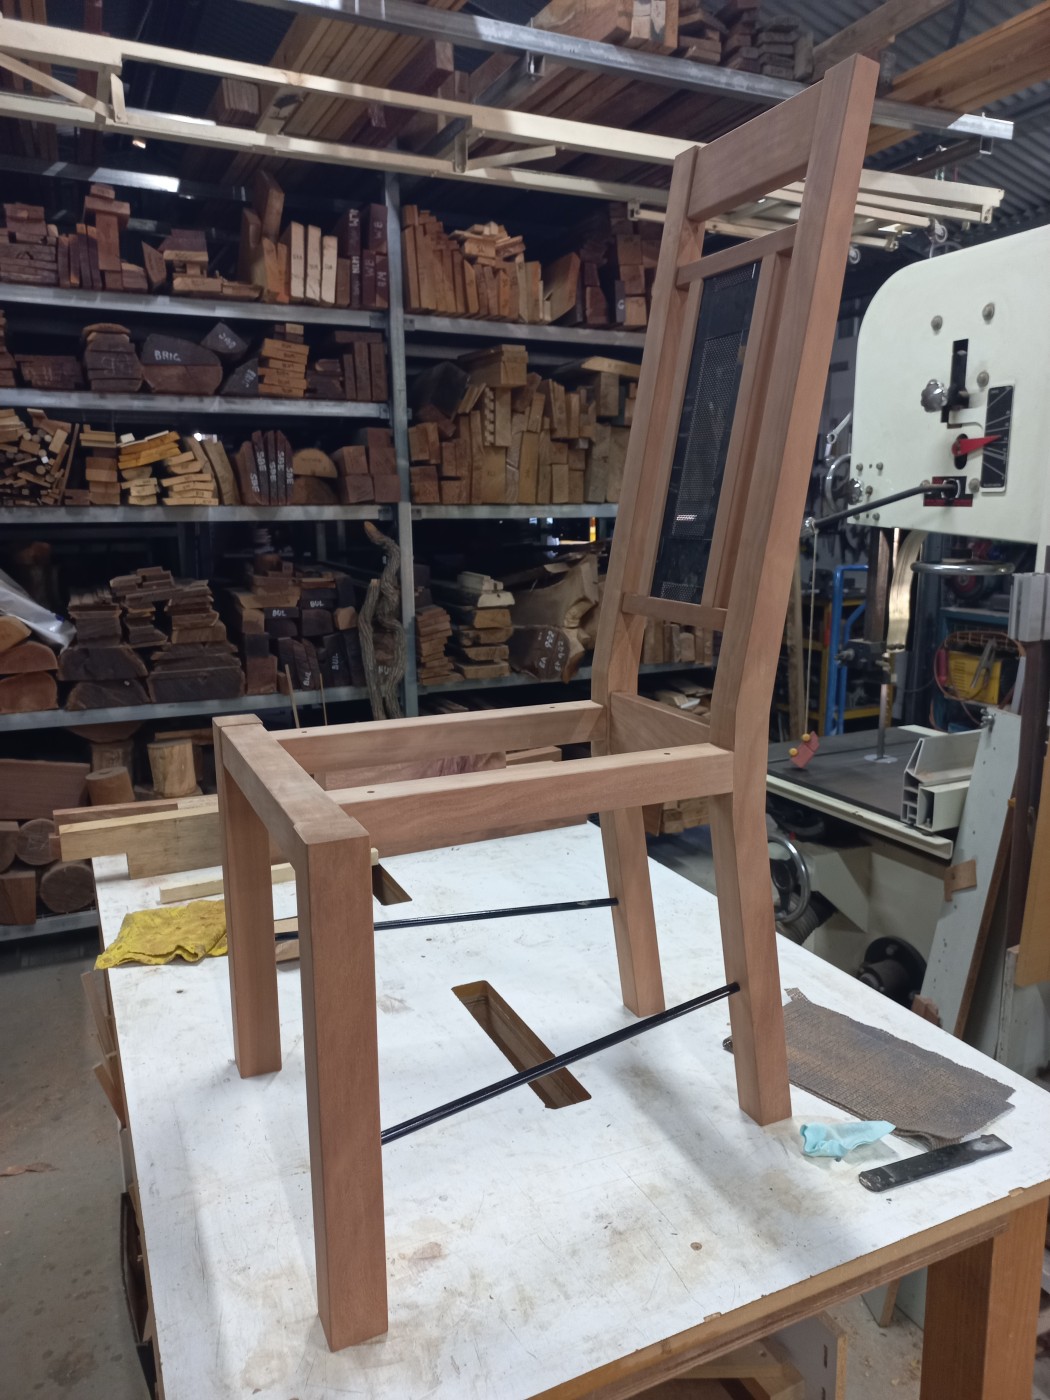
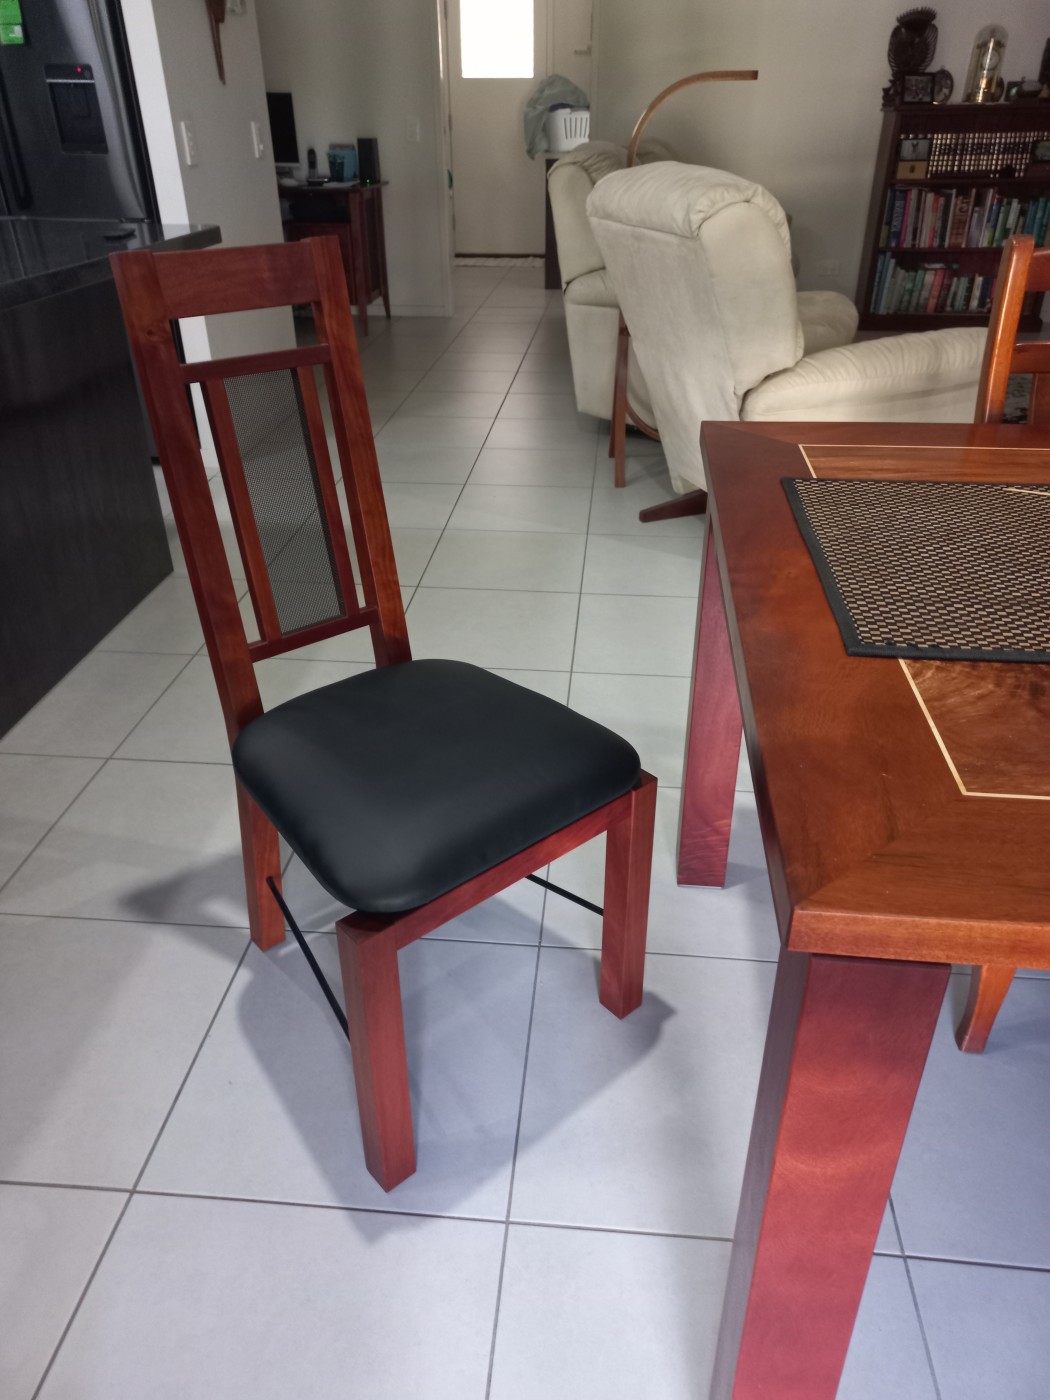
With some minor changes to the design like tapering the back posts, I went ahead and made one from Rose
Mahogany and got a seat cushion made by a local upholsterer - pretty happy
with the end result for both comfort and appearance.
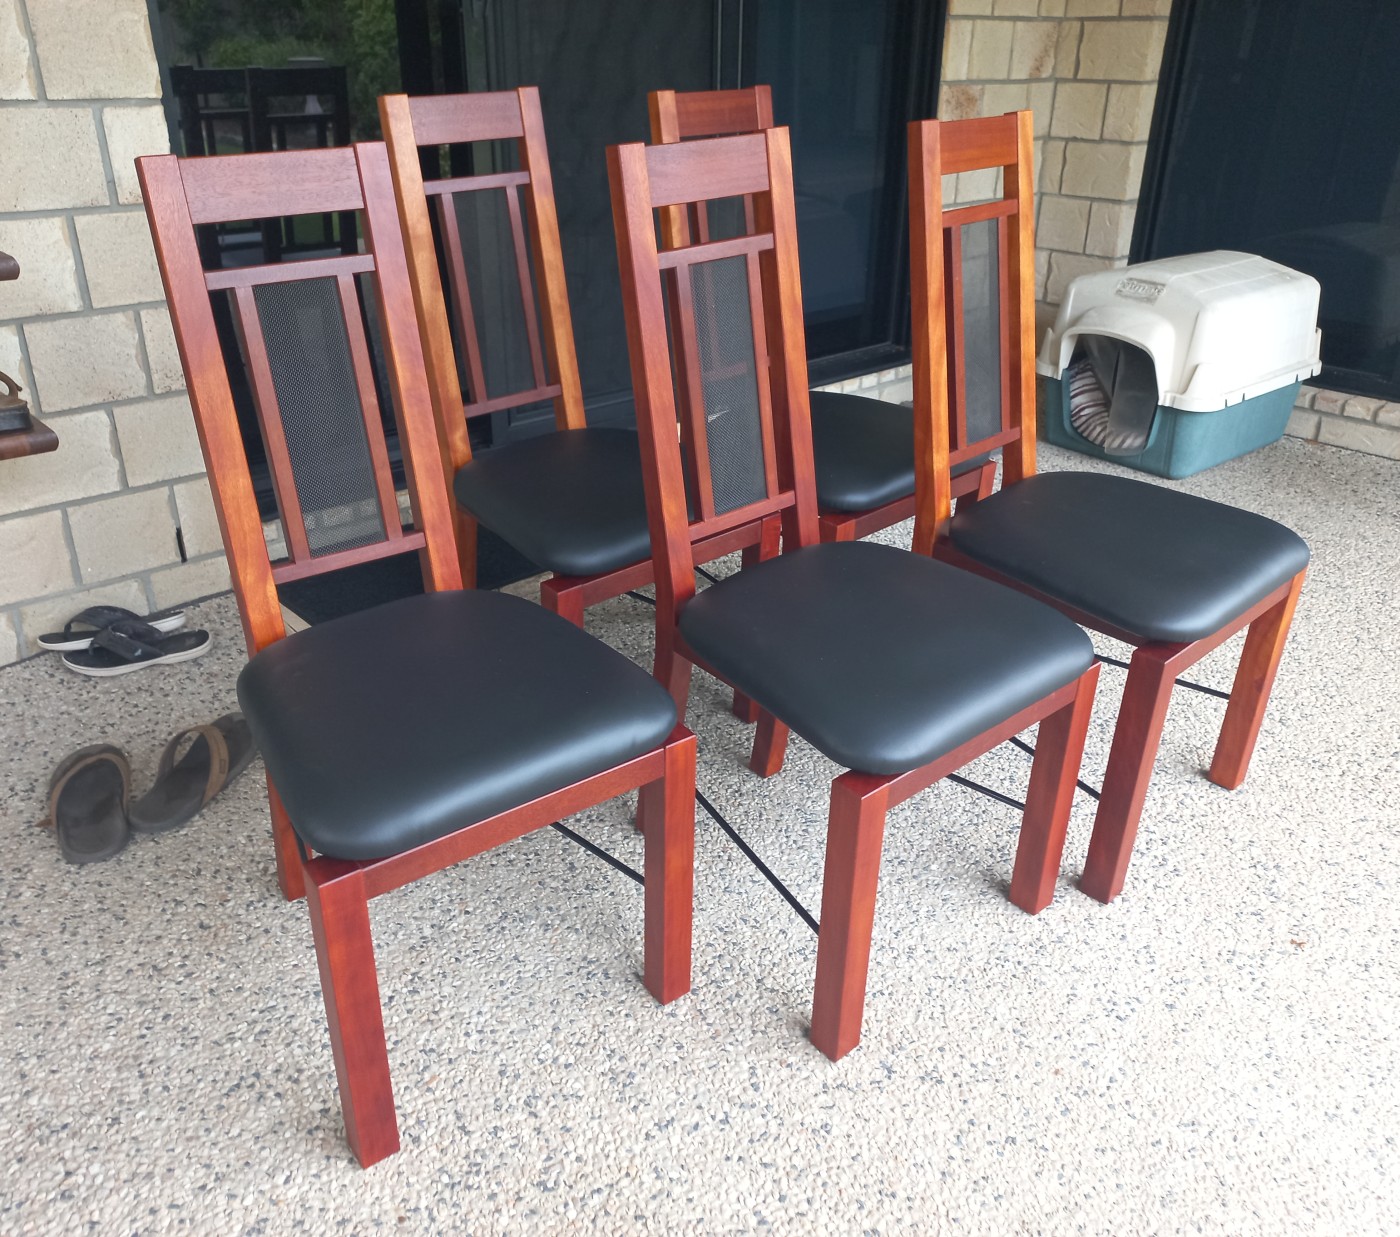
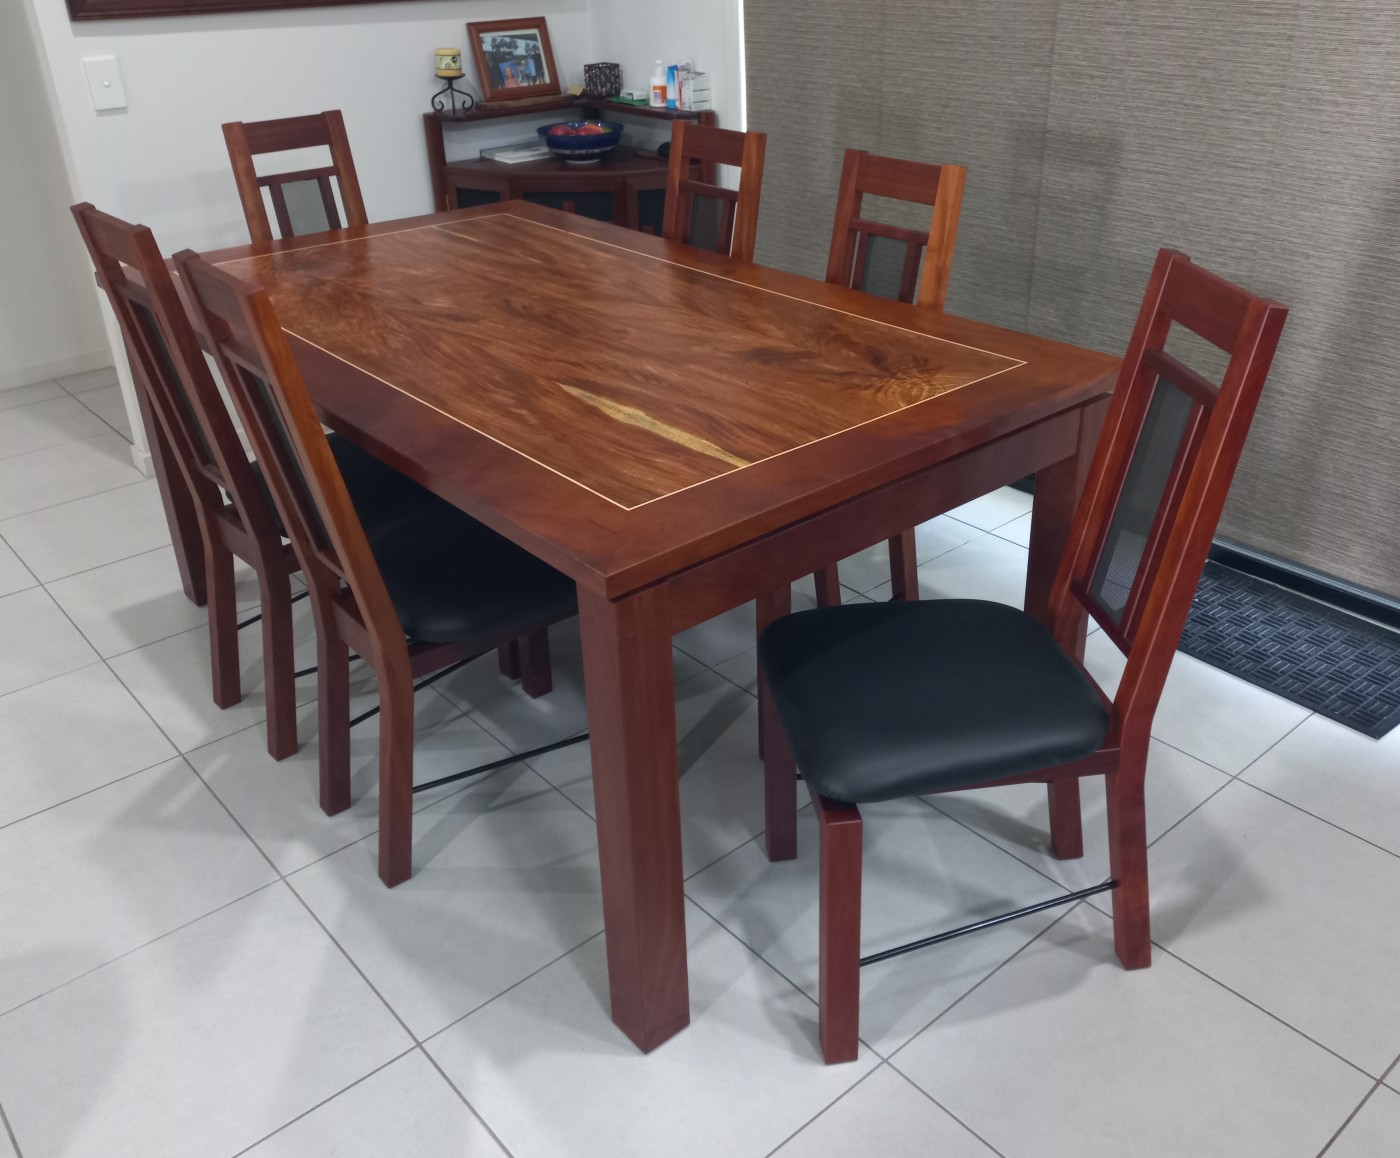
Then it was back to the shed to make another 5! One is fun - more is a bore!
. . . but we got there!