Many years ago a well known woodturner told me that you could sell any
wooden ball you make in an instant. At the time I had a look at the
commercial versions of ball cutting jigs available and was left
disappointed. Apart from the cost and amount of blank preparation required, they still
only cut 3/4 of a ball and you had to finish the rest off on the lathe
between cups. Over the next few years I gave some thought to a better way of
doing it and eventually decided to build my own. I taught myself to use
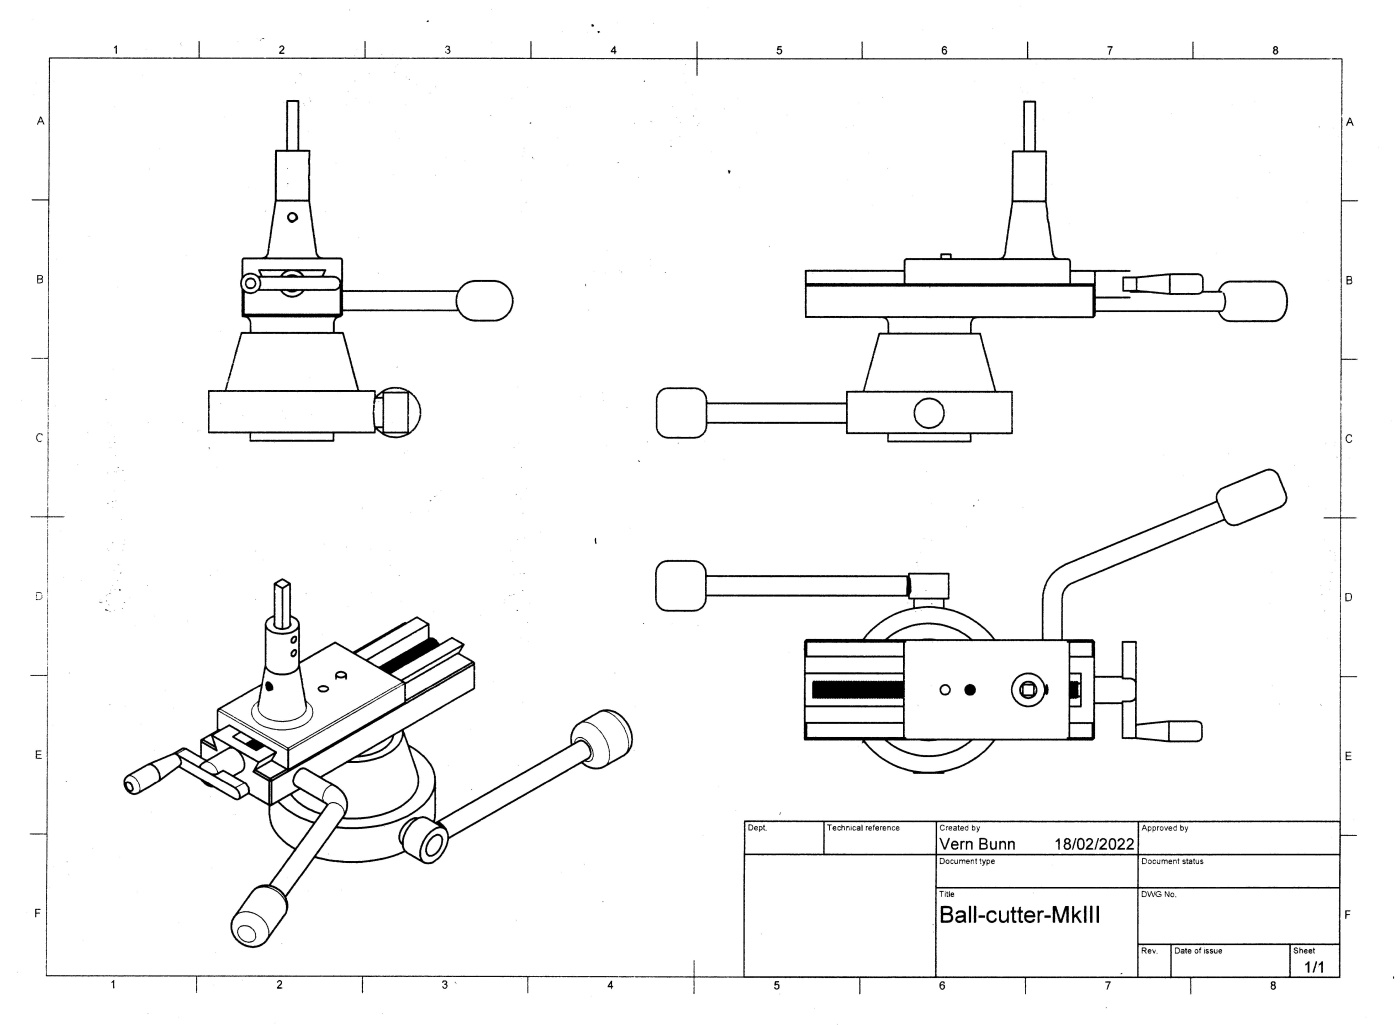
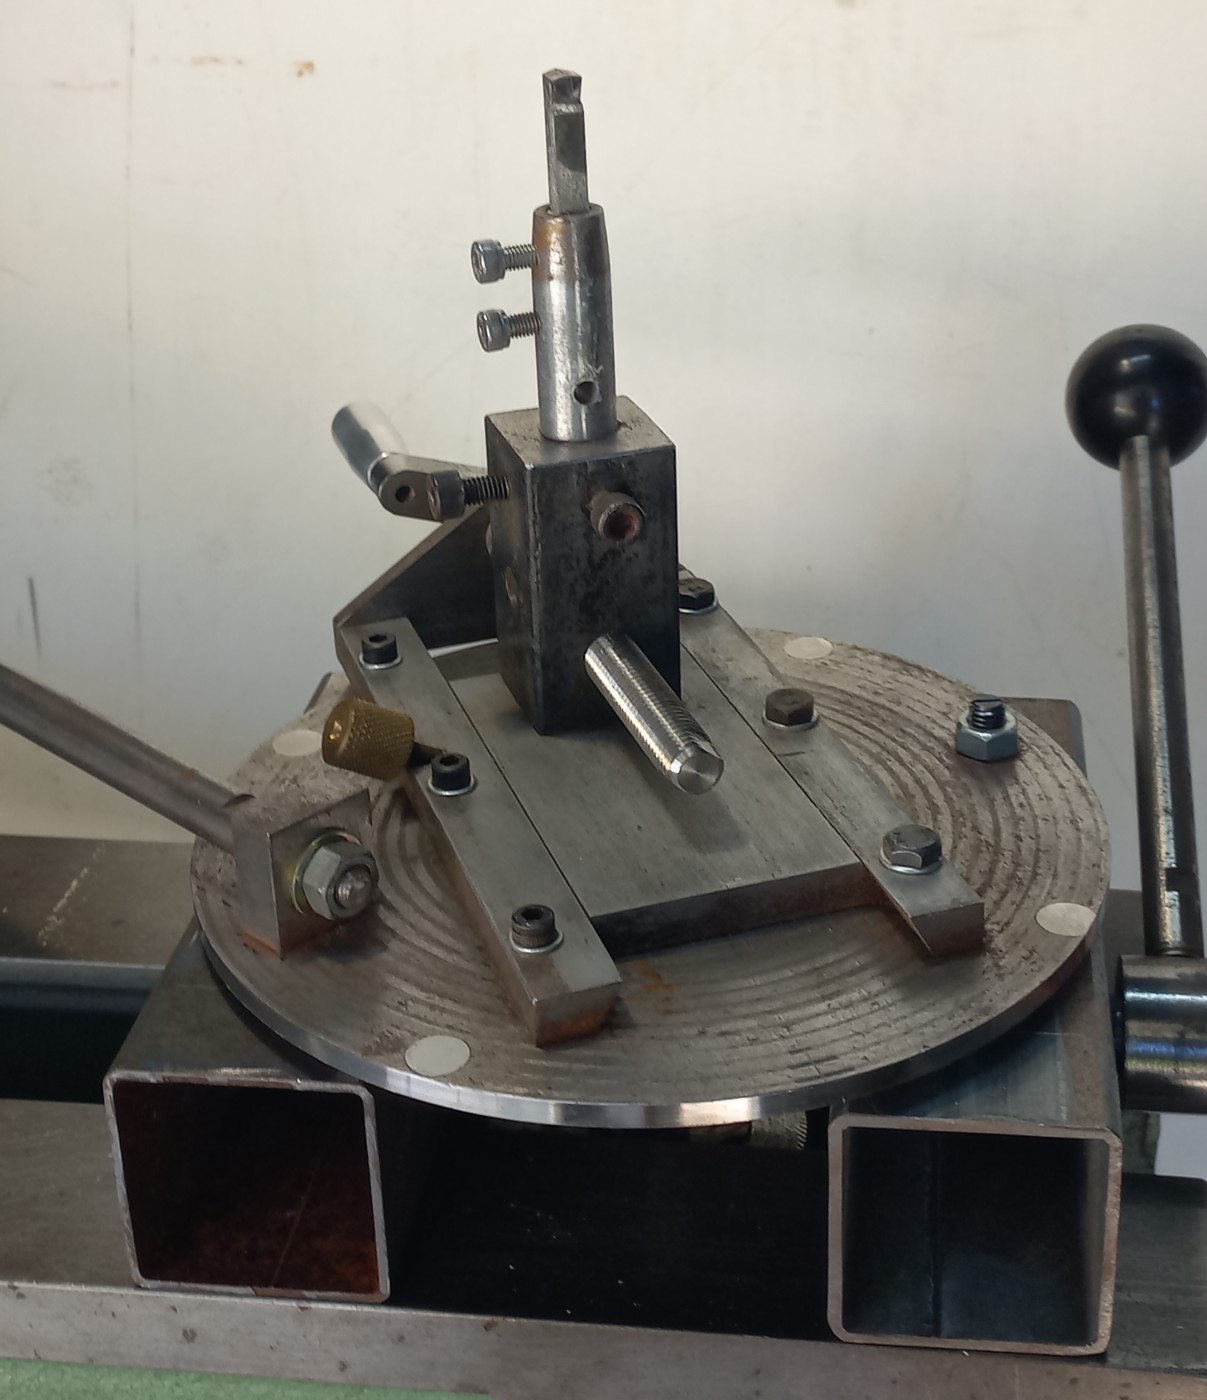
Fusion so I could produce a drawing (right) of what I imagined a
professionally engineered rig might look like. Then I went looking through
my bits and pieces in the shed to see what I could use to make something
with the same action and the final result looks very different - but still
works on the same principle.
I believe the problem with the commercial rigs is that they were designed by woodturners so the cutter is
presented on the end of a horizontal arm like a turners chisel
which means you can't swing the cutter any further round than the chuck. I
went for a cutter arm running vertically so the forces are directed straight
into the bed of the lathe and you can swing it all the way around to part
off the ball when finished.
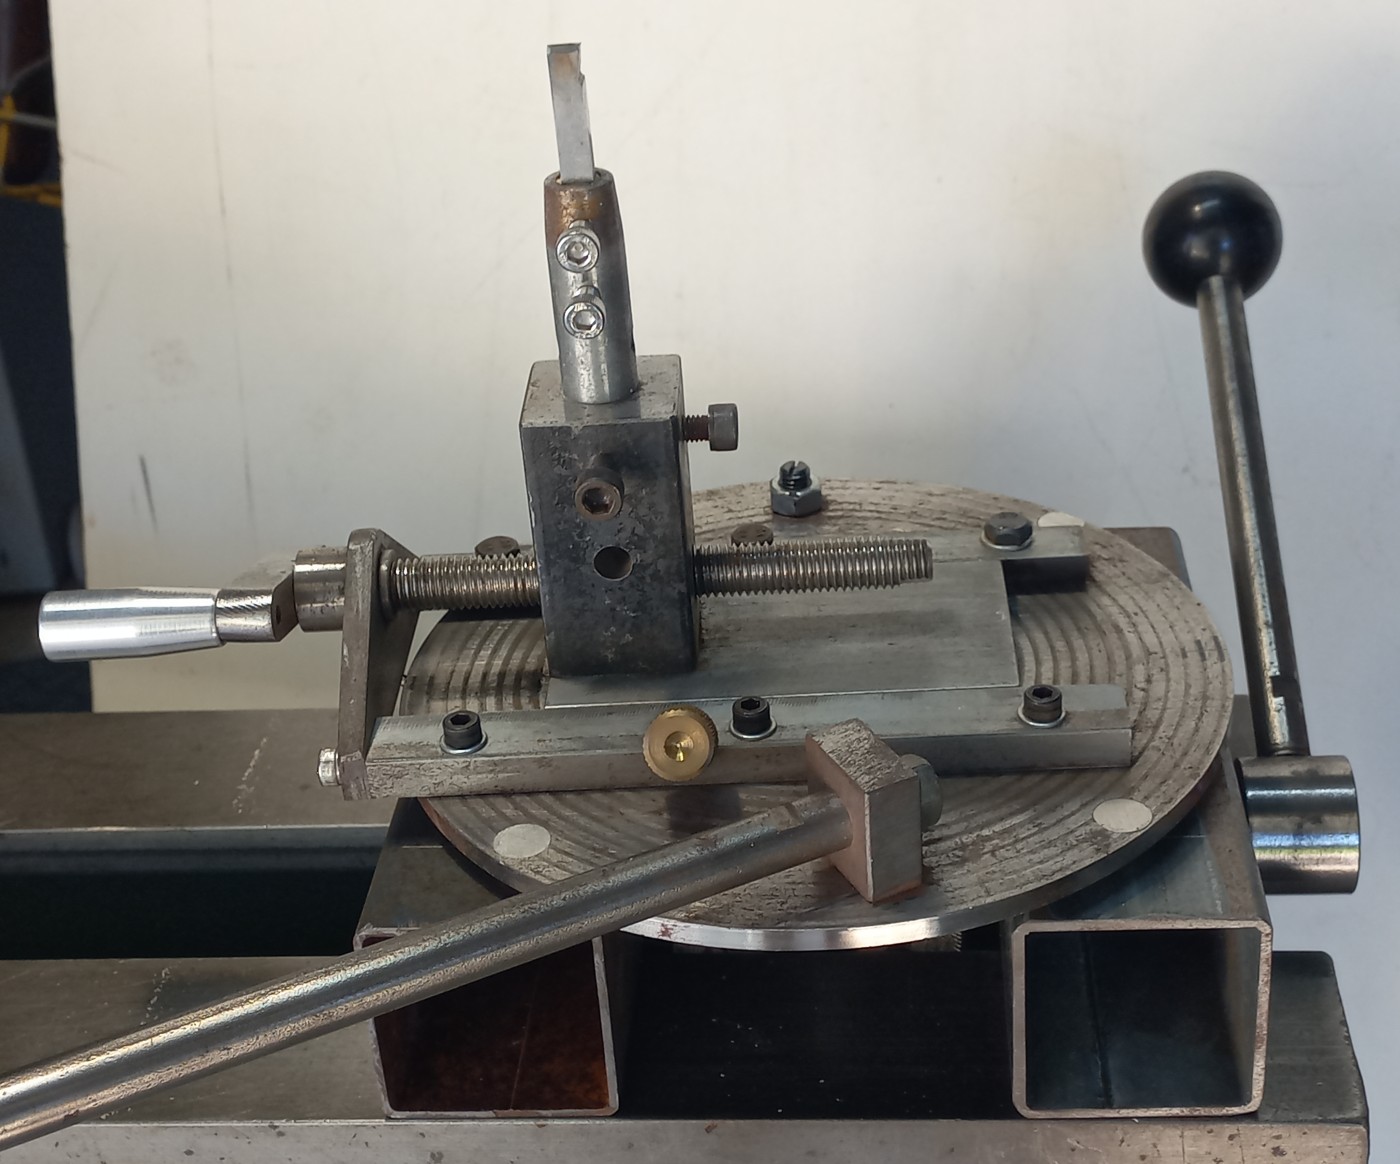
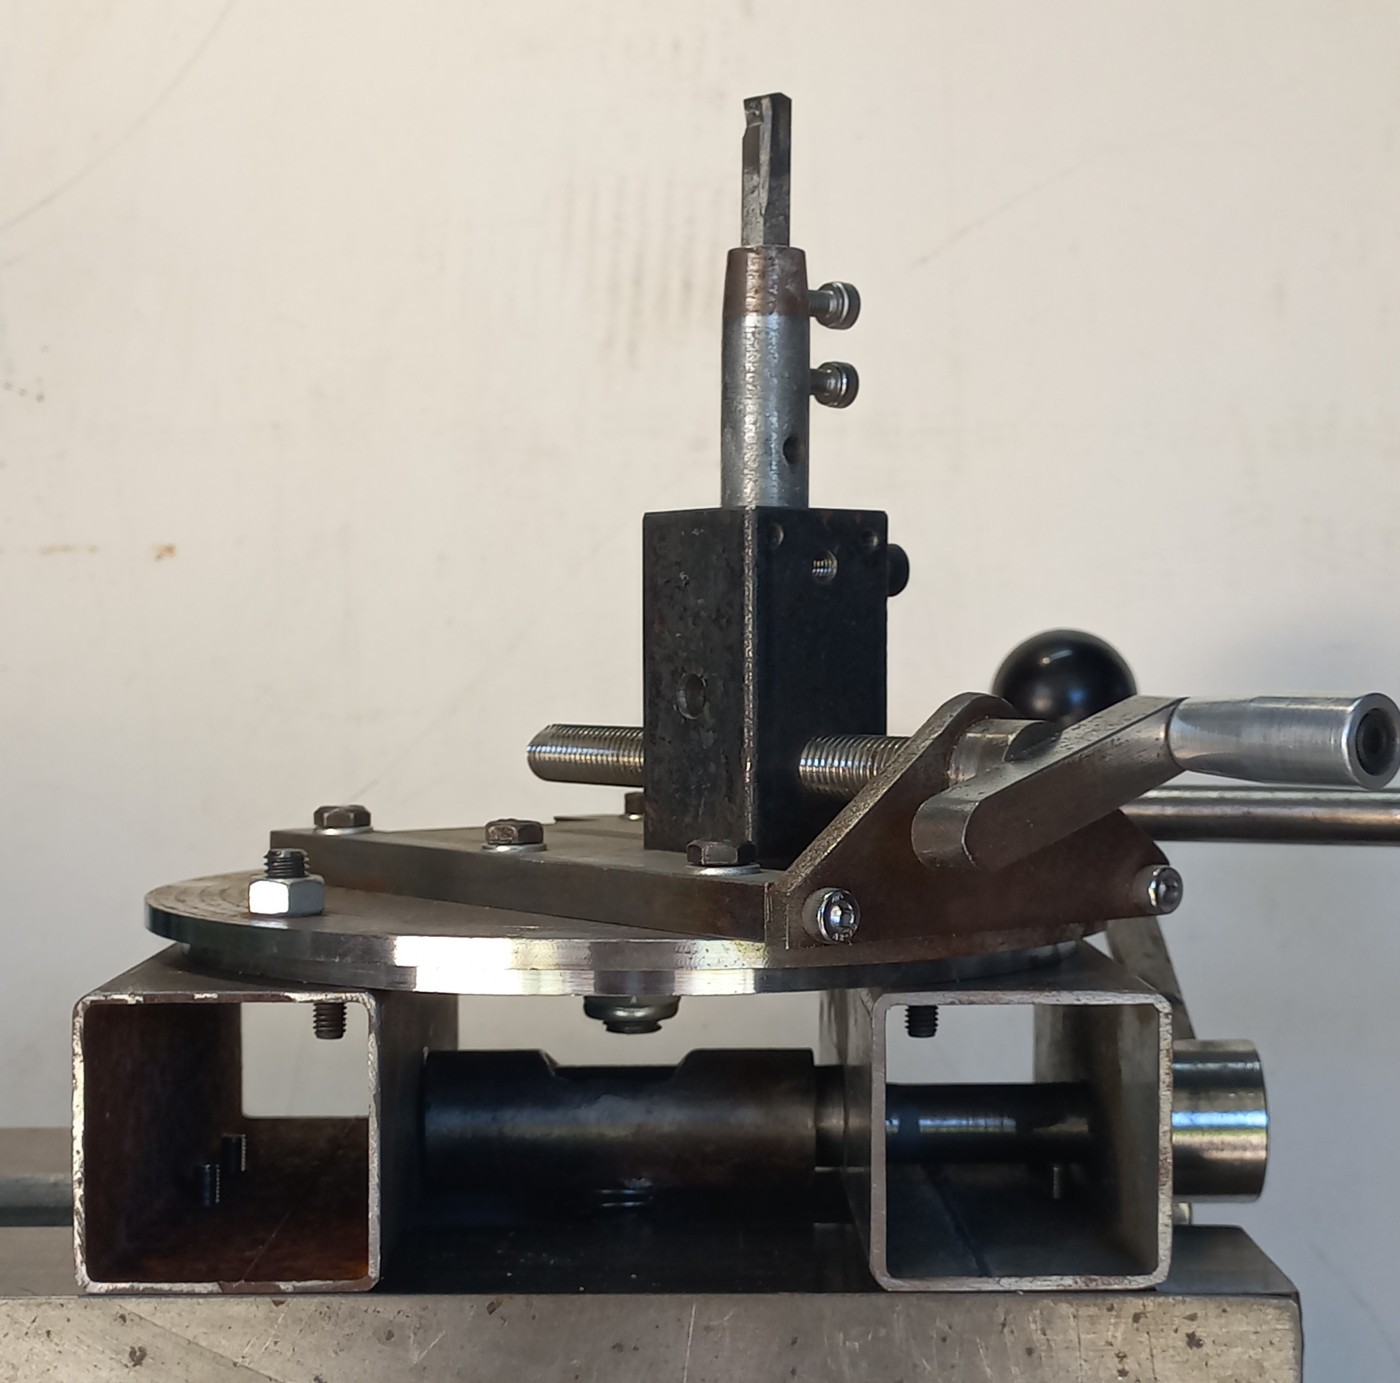
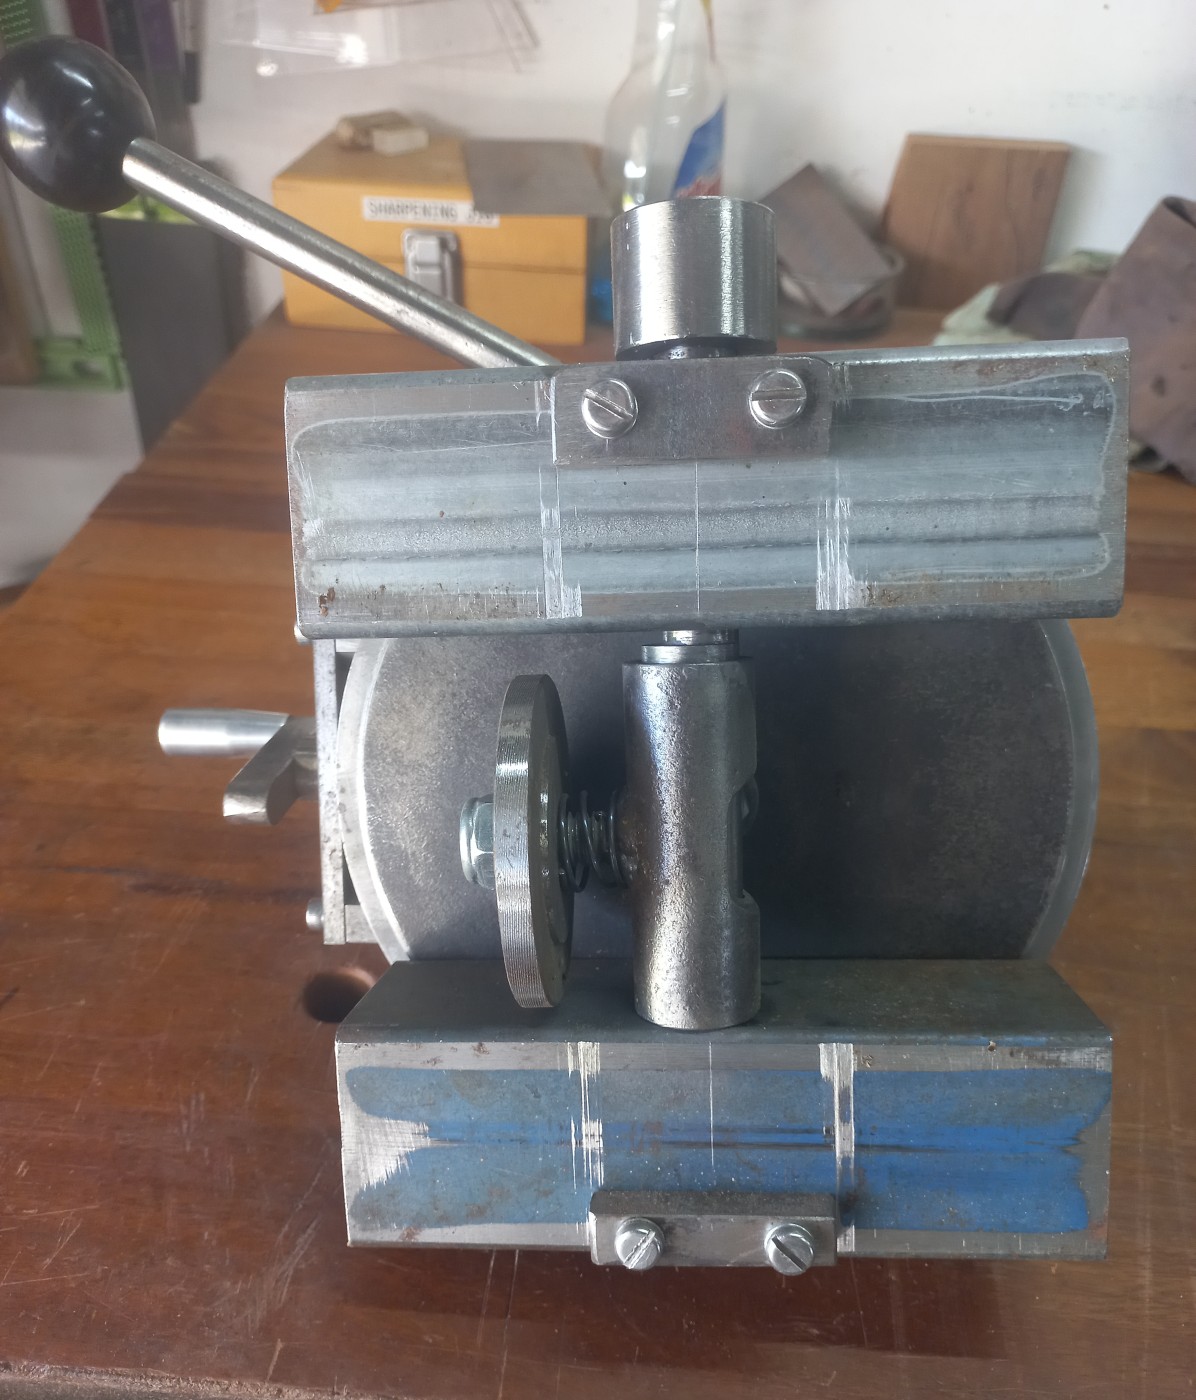
The rig is basically just two discs spinning on each other with a slide to
mount the cutter on. I only have a mini-lathe for machining steel so I had
to make it all without milling anything - not easy to get a slide working
well with nothing more than a file!
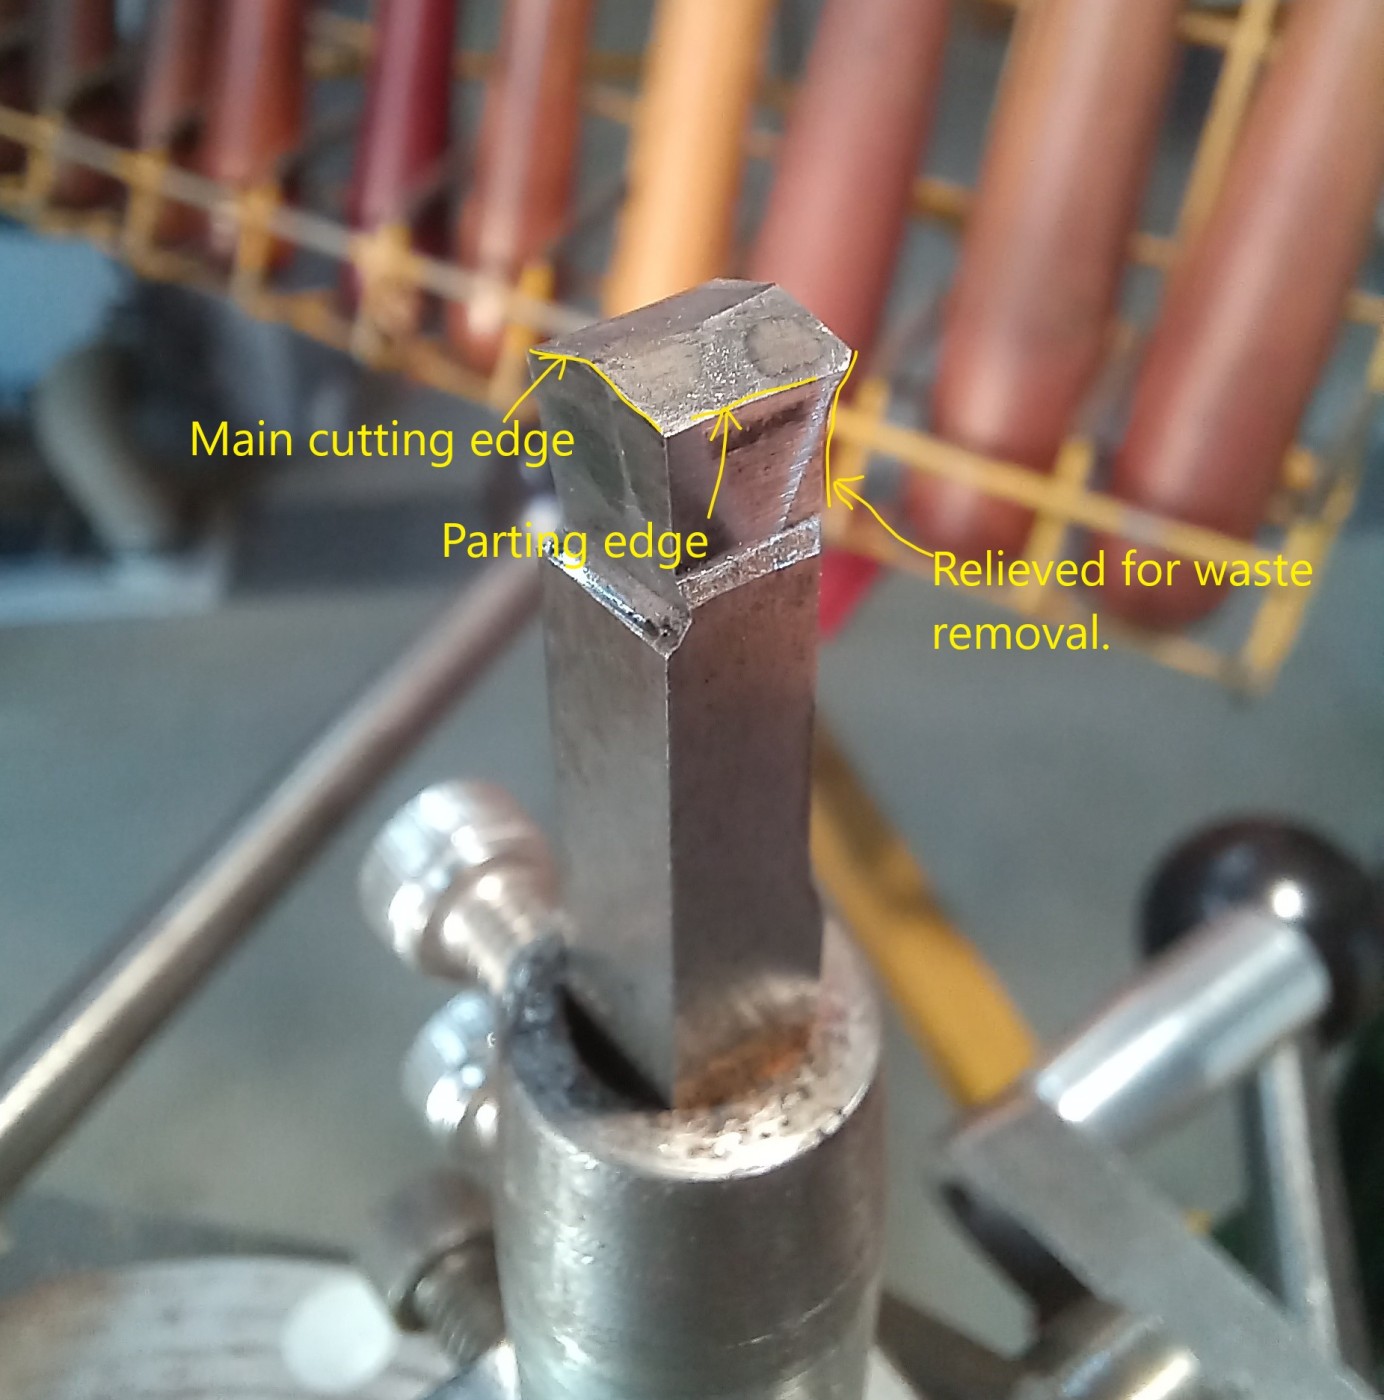
Getting the cutter geometry sorted was the most time consuming bit with a
lot of experimentation happening. My initial idea was to use a shear slicing
action which worked nicely cutting down the grain, but all too often would dig in
when cutting upwards and rip the blank right out of the chuck. I tried a few
other designs and almost gave up until I tried the negative rake
arrangement you see to the right. I've not ripped a single blank out of the
chuck with this one and as long as you take very fine cuts for the last few
passes, it will clean up any tear-out from the earlier heavy cuts quite well.
In practice, the parting function works OK but on long grained timbers, it
tends to pull the last few fibres out of the ball (about 2mm) which isn't
a problem for rough stuff, but might put fussier turners off. I found it better
to part it down to about 5 or 6mm diameter, cut the last bit through with
a clean cutting saw, then sand the stub off against a disc-pad in the drill
press - still much quicker than the commercial method.
Check out the videos below to see how easy it is!
Please excuse the quality of the video - cheap phone!